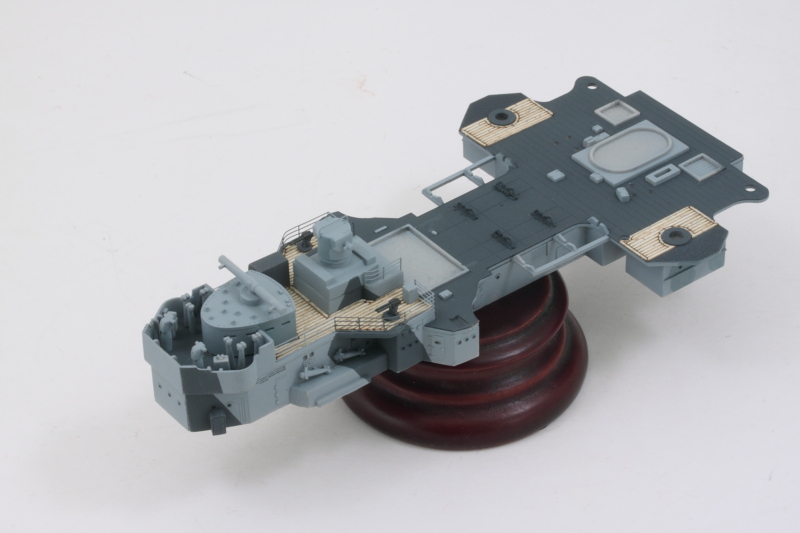
More details checked off the to-do list today! I assembled the Arado 196 floatplane and that itself was a little bit of a challenge. The kit provides the entire plane as a clear sprue with the bottom half as a single piece that includes the tail but the top half is further split into two parts. Getting all three to line up and play nice took some work especially since it's not very big, to begin with. I had to check all the join lines with gray paint first and sand/trim/adjust accordingly to get it all in place. Once that was done, I hand painted the plane's scheme using MM enamel RLM 80 Olivgrun and a lighter green mix that I had sitting around on the bench that was close enough for the splinter pattern. The undersides received a coat of MM enamel flat Light Gray. I used a regular brush to apply some Future, added the decals using Solvaset, and a second coat of Future to seal them in. A dose of Lusterless Flat knocked back the gloss. I hand-brushed Future on the canopy insert as well and then hand-painted the frames with Olivgrun, cleaning up excess where needed with a pointed brush and thinner to tighten it all up.
I also built up the rest of the catapult with the plane cradle. Interestingly enough, the Trumpeter kit doesn't include an easy way to install the floatplane onto the catapult and the instructions conveniently ignore this as well...there isn't a diagram that ever shows the plane's installation nor does it appear on the final step illustration or on the finishing guide. Still, they did include the plane, so that's something! Fortunately, the Eduard set addresses this perfectly with the cradle.
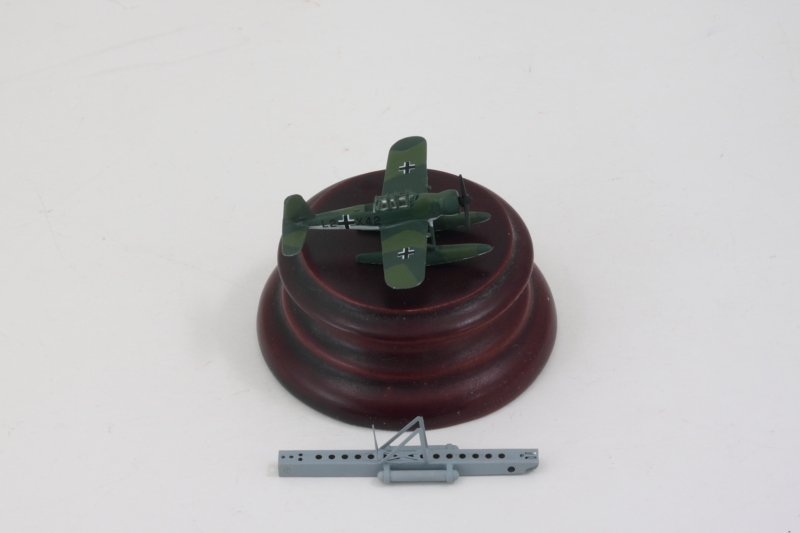
I attached the floatplane to the cradle using CA gel so I could be sure to get it in the right position over the catapult. Once that had set, I used Gator Grip Thin Blend to attach the combined plane and catapult to the superstructure mount.
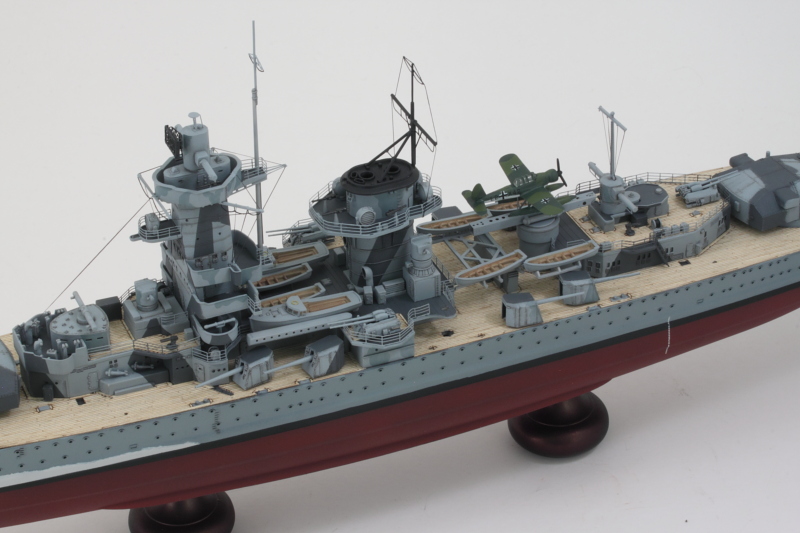
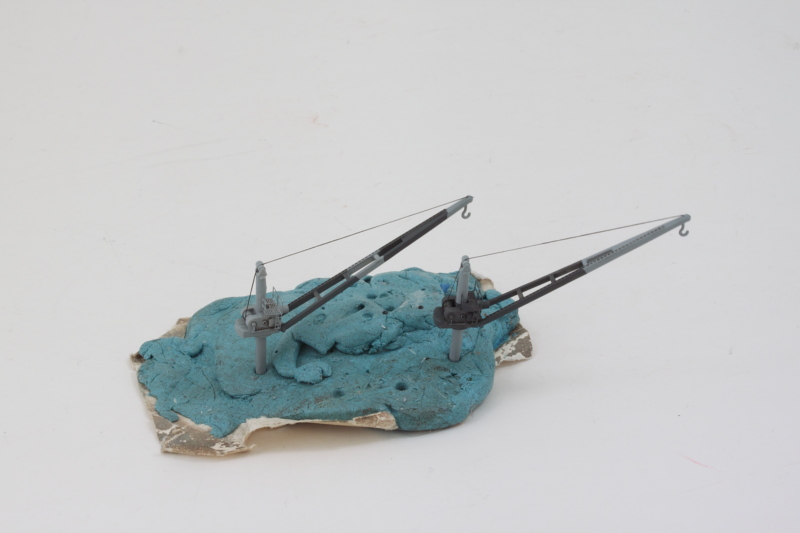
Next up were the two main cranes. These were a bear to get together mostly because the molding on the two halves for the support post portion was less than perfect. I had to use clips to get the halves together and follow that up with sanding and putty to deal with gaps in more than one spot. I added the Eduard PE details for the suspension arm as well as the operator's cage platform. The crane arms snap into place but are very loose and won't hold their position on their own. I used one crane to test fit the correct height/angle in relation to the floatplane and boats and then applied liquid glue to the hinge pins to set it in the right position. The second crane mirrored the first one so that they would form a matching pair.
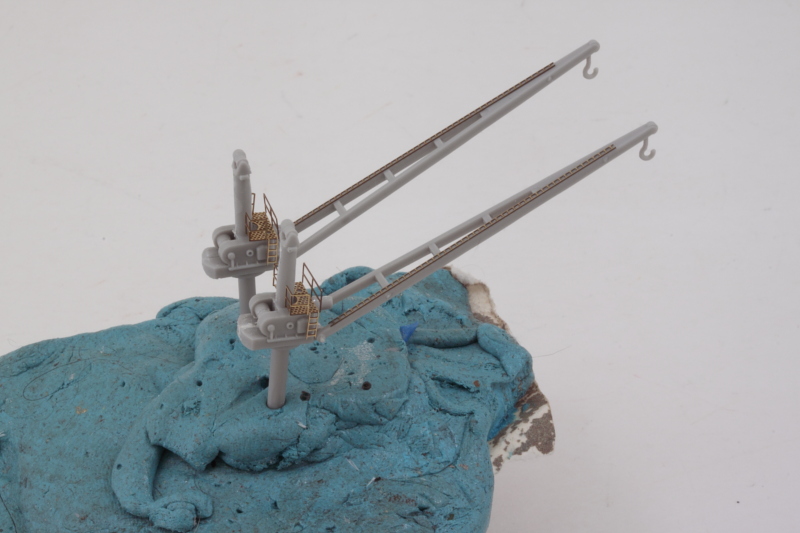
The cranes themselves have different paint patterns depending on which side of the hull they mount to, so I hand painted them accordingly with the Light Ghost Gray and Gunship Gray disruptive pattern. EZ Line provided the suspension cables as well for added detail.
With that done, the cranes took their place alongside the other midship details. They are still movable in the event that I need some room/flexibility when it comes time soon to add the main deck railings in this area.
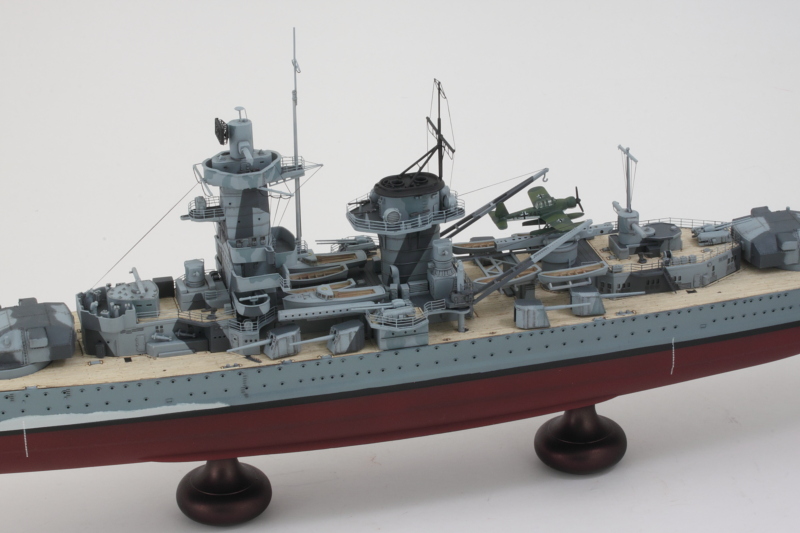
Checklist is getting a lot shorter!
