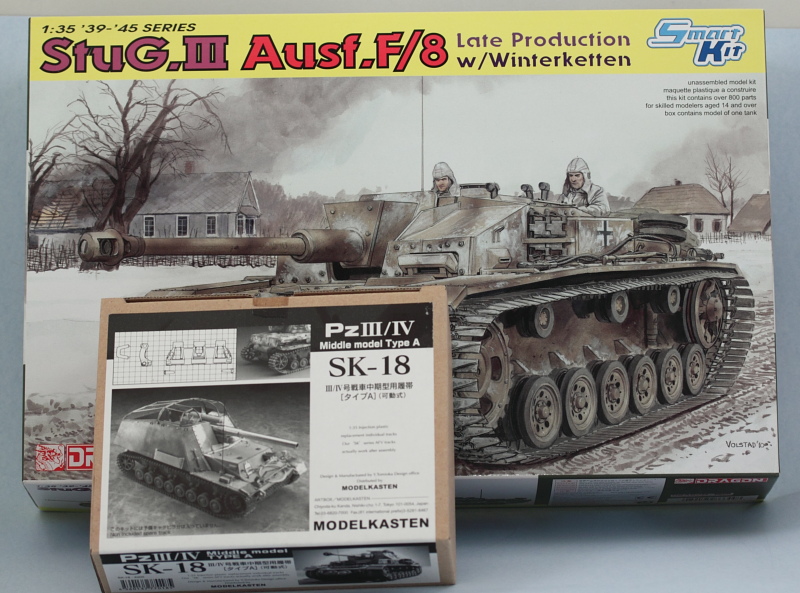
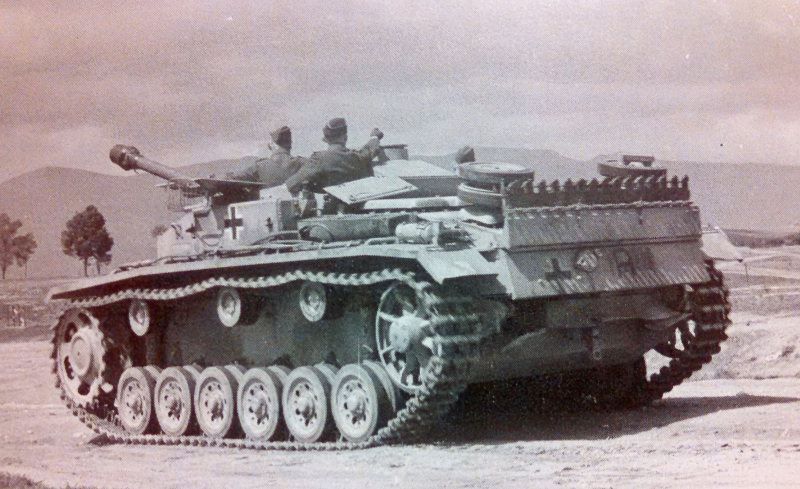
I've made a lot of progress as a result of the 4th of July holiday and apologize for the large number of photos in advance. This is driven more by how Dragon designed the way all of the upper hull components come together than my desire to torture you with a ton of pics!

First I had to study the instructions and figure out what goes where. To that end, I started on the fenders as called for in Step 6 and got them all cleaned up and their braces added but left off all the tools and small parts for later.
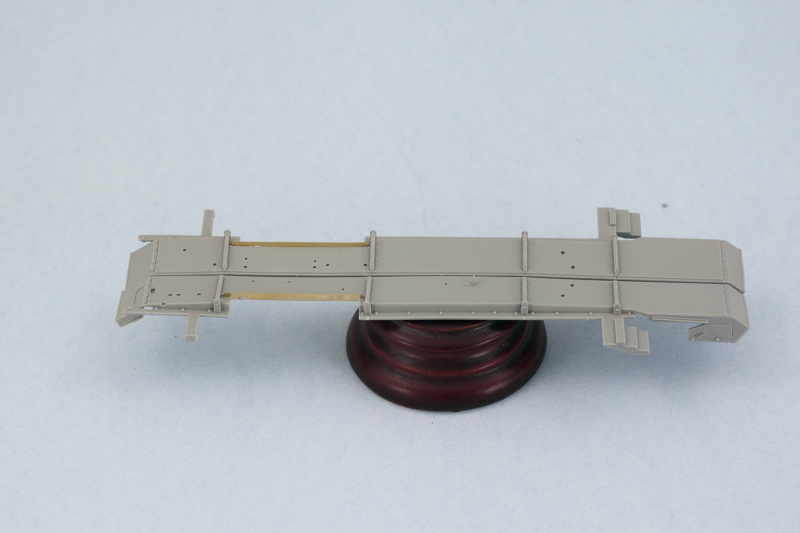
If you follow the instruction order of things (not recommended!), Dragon would have you wait until the very end step to install the casemate, interior, and engine deck together as a single module along with the fenders and glacis plate. This would require a level of precision in terms of how all the parts go together that would be hard to achieve in my view so I did things a little different. I started first with cleaning up the glacis, casemate shell, and engine deck platforms and did a mock-up test fit with all the components to see how they would go together. Everything plays nice, but the fenders have supports that slide under the glacis, the casemate depends on the fender supports to site correctly, and the engine deck has to trap the edges of the fenders just right...so waiting until the end to achieve all this is risky to say the least.
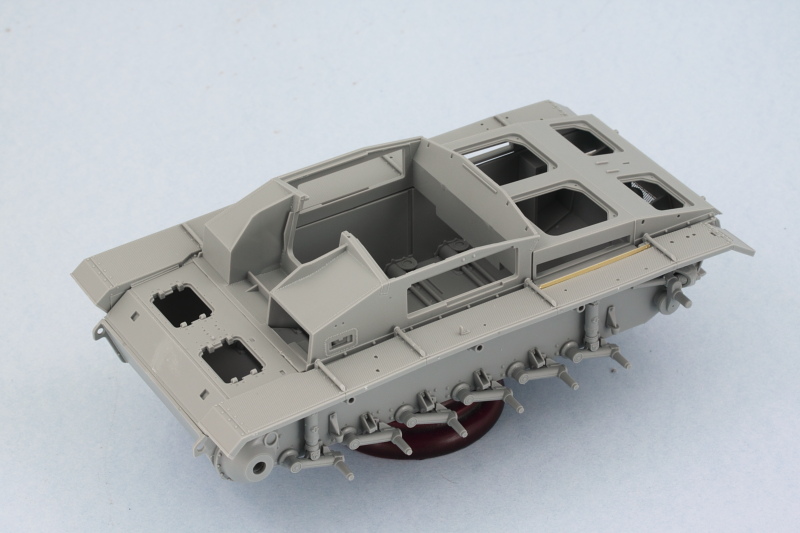
So far so good, but the other question remained about how to best deal with the interior and gun mount. The fighting compartment bulkhead slides into slots in the lower hull and this in turn helps 'spread' the top of the hull to the right width. So rather than attach it to the hull, I used the hull to place it at the proper spot and then carefully glued it in place with the interior floor but didn't glue the floor into place yet. I did assemble the base of the gun mount from Step 13 and installed that into the floor.
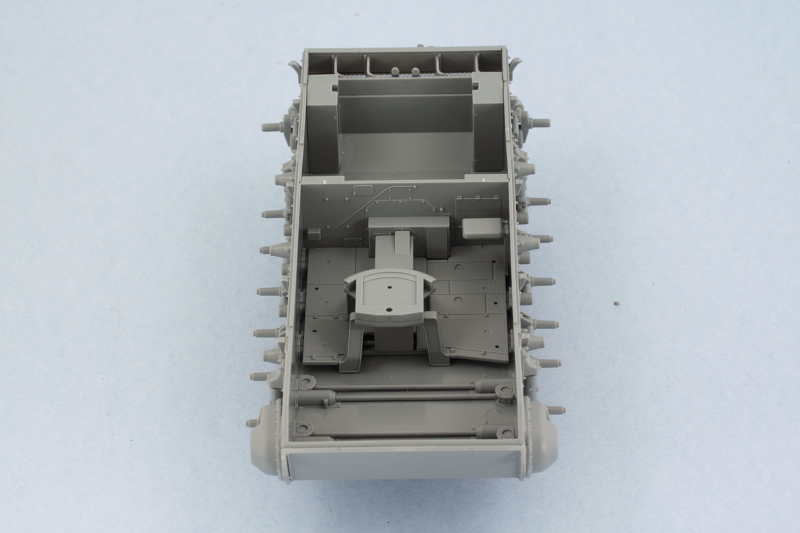
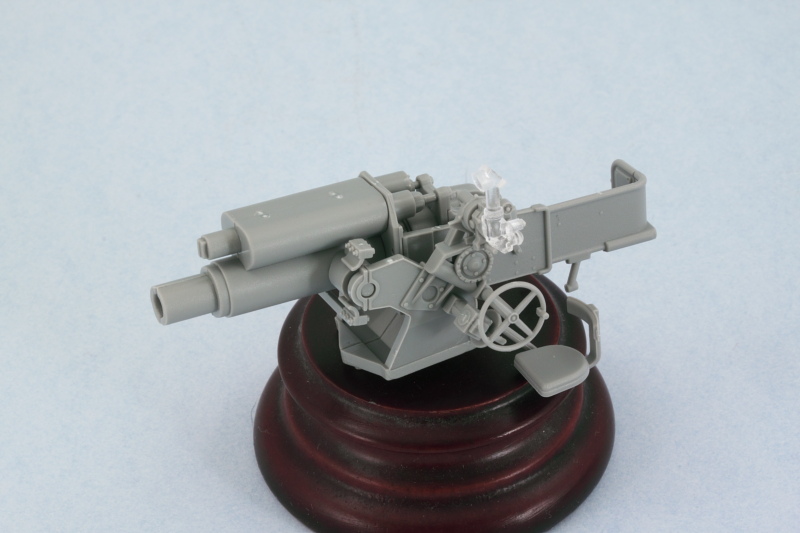
The rest of Step 13 assembles the gun mount and all of its details.
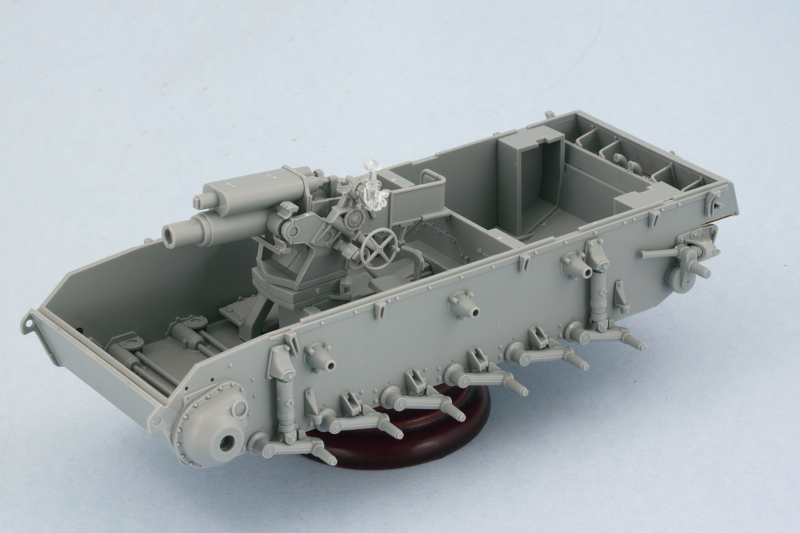
And a test fit with the floor mount shows it will sit just fine...but you can't secure it in place yet as the way it interacts with the casemate requires a little bit of contortionism to achieve.
A simple test fit with the casemate along with its roof plate ensured that the alignment of the gunner's periscope sits properly and lines up with the opening in the hatch.
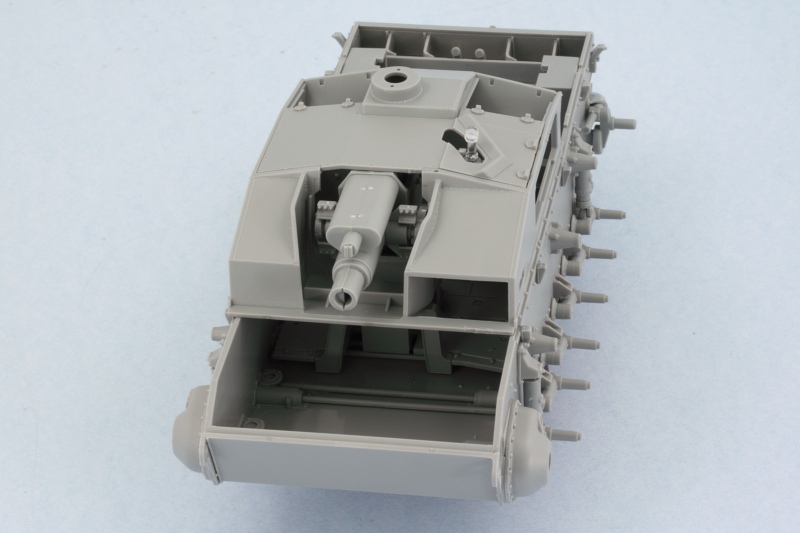
Step 14 assembles the main gun barrel and block mantlet. The block mantlet and barrel can't be installed until the casemate is in position but you need the end of the barrel to line up properly with the D-shaped opening in the gun recoil housing. To achieve that, I slid the block mantlet over the housing as a dry-fit and then glued the barrel and components in one by one until the full thing was built and all aligned correctly. After the glue set, the mantlet and beyond portion was removed so it could be installed separate from the mount.
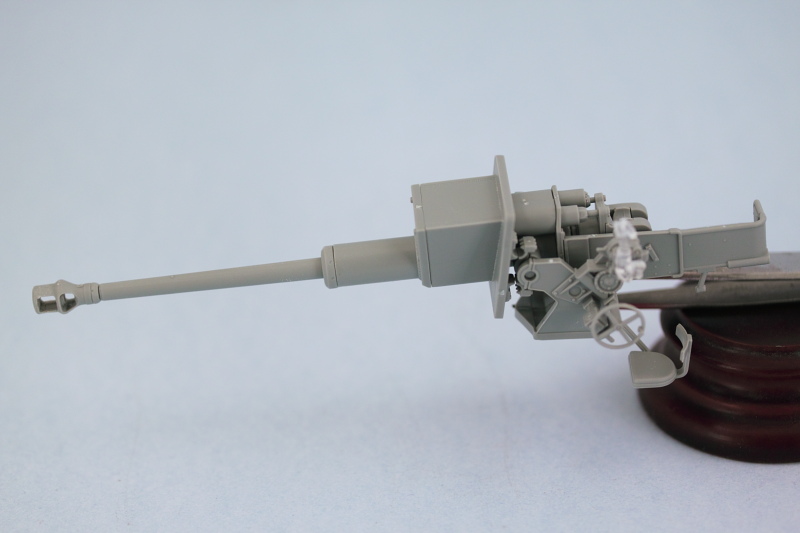
This next part is best described as bringing all the other parts together to form the upper hull. I returned to Steps 7 and 8 and added most of the details there to the casemate in the form of the driver's plate and add-on plates. It's worth noting here that there's no 'M' sprue of clear parts, those are on a 'V' sprue, so bear that in mind. I'm opting not to install the roof mounted MG since that's a feature that wasn't fitted until early 1943 and was only done to some F/8s.
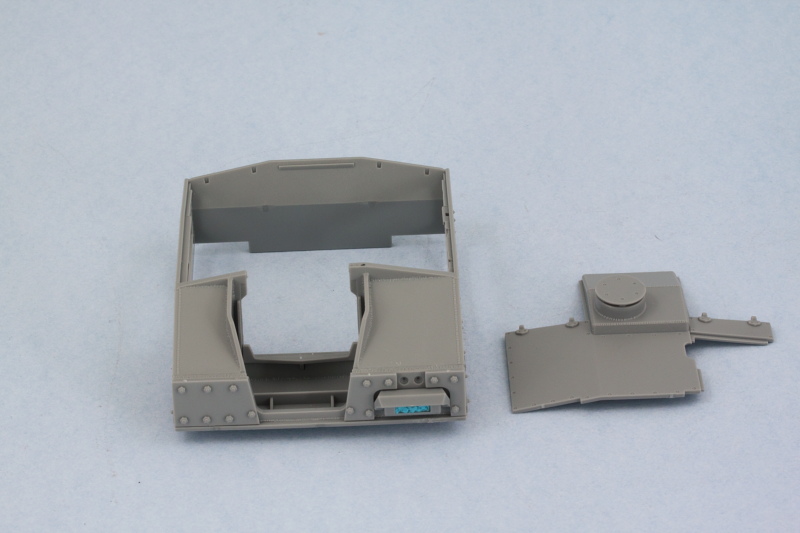
Step 9 adds the side panniers to the casemate along with other details. Since I'm closing all the hatches, I didn't bother with assembling the radio gear and installing it but will add them to the spares bin for possible use on future projects. Same thing for the 'rabbit ears' periscope, this is only needed if the commander's hatches are going to be open. I drilled out the antenna mounts to take 2m brass RB antennas later on.
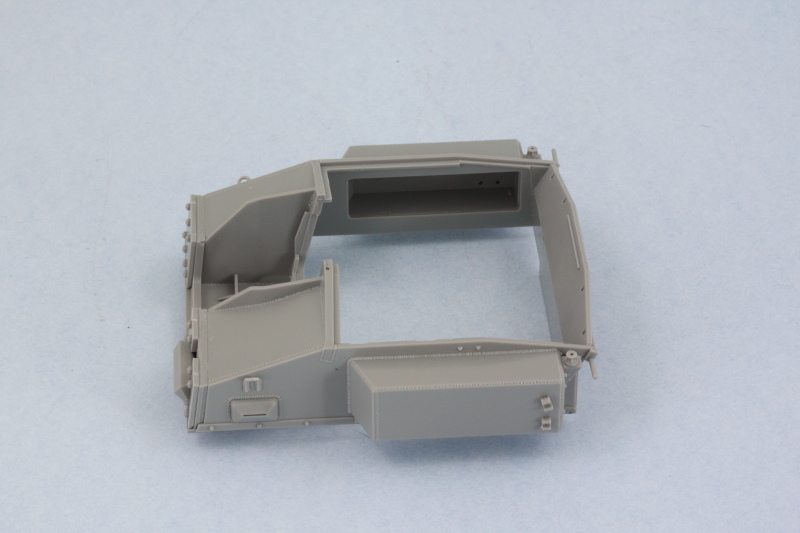
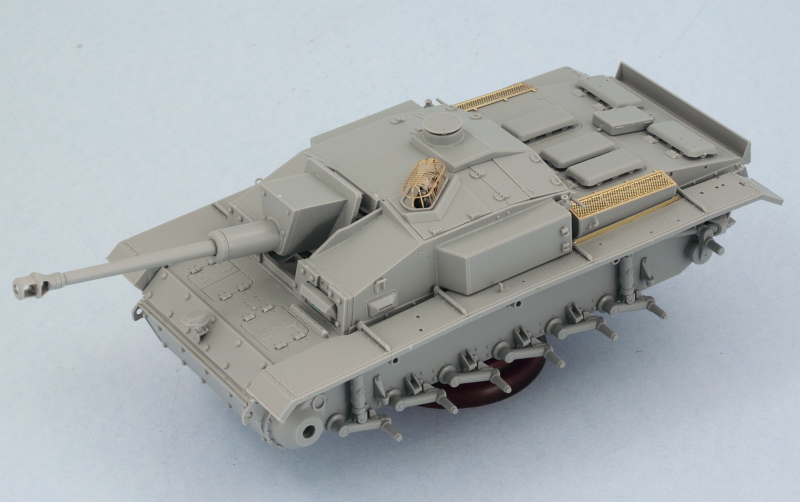
That brought me to this stage in the build in terms of components that all have to work together to get the upper hull together...as you can see, it's a lot!
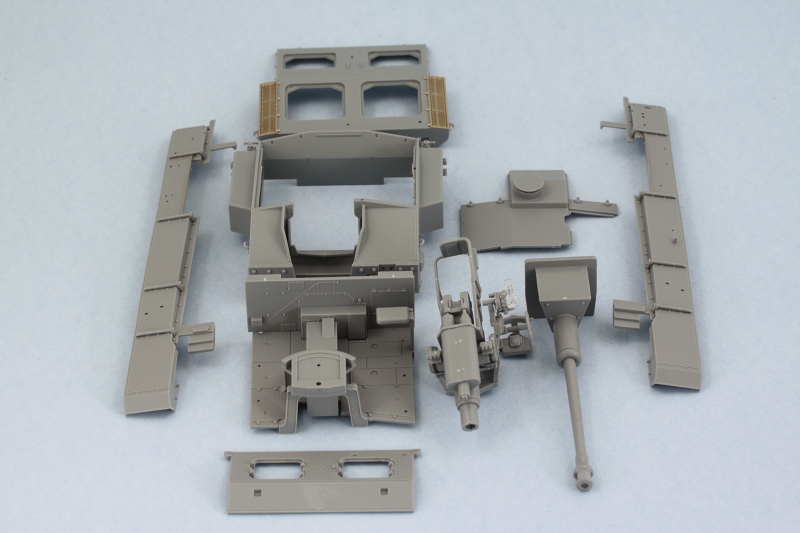
And since the photos will tell the story...here's how I determined was the best way to get it all together:
#1 Install the glacis and interior floor and bulkhead to spread the hull to the right width.
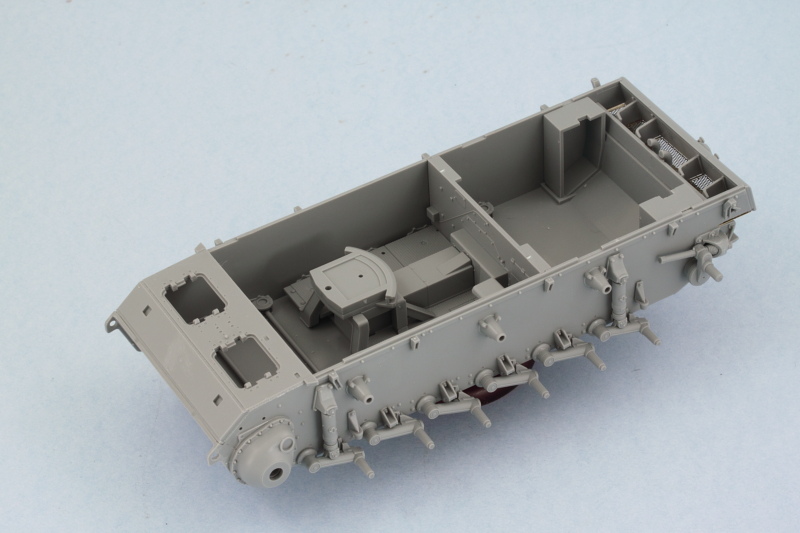
#2 Fenders come next, using glue only at the front and middle edges to secure it in place. I did have to modify the 'notches' at the rear in terms of using a square needle file to cut them deeper to allow them to fit correctly.
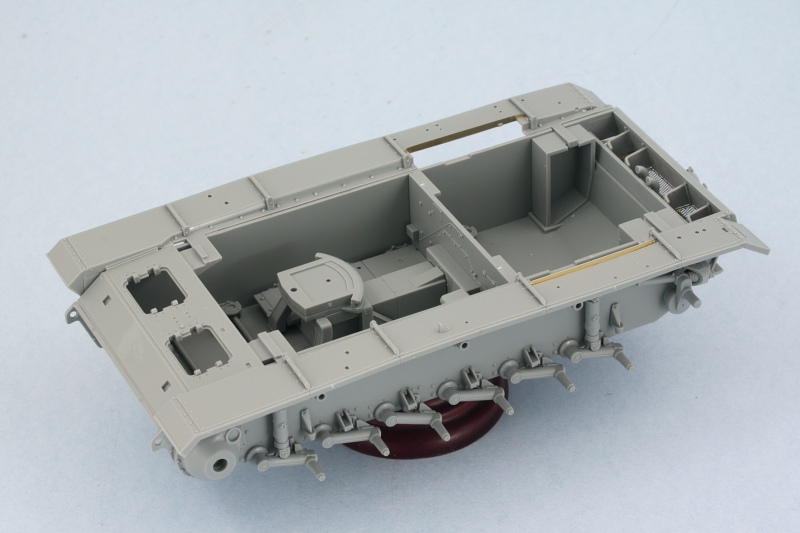
#3 Add the casemate and gun mount next.
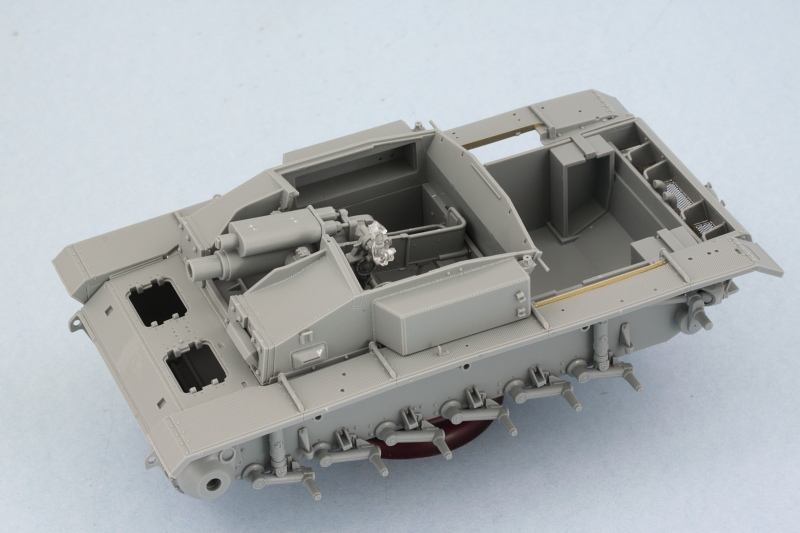
#4 Install the engine deck, it's a tight fit, almost a snap fit. I only needed to use slight finger pressure at the very rear to get it close up correctly with the fenders and hull edge.
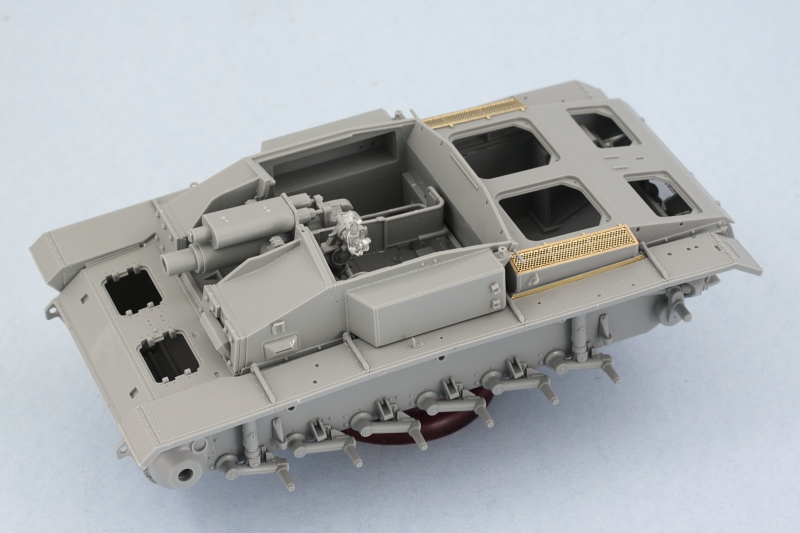
#5 Finally install the block mantlet and gun in place. This is best done after completing Step 12 which adds all the details to the glacis plate including the access hatches and Notek light. I added the bolt-on armor for the hull nose as well now that I could get it lined up properly with everything.
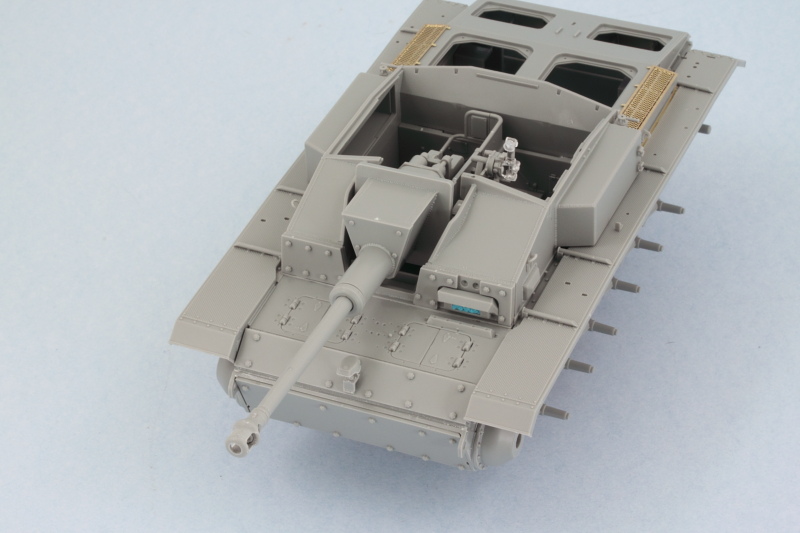
Step 10 came next, adding all the hatches in the closed position to the casemate roof. Part Q34 from Step 16 is used to trap the gun mount into place and complete the roof assembly. I used the pre-formed brass 'cage' for the sight cover as it's got the best in-scale appearance vs. the styrene cage option also included. Unfortunately I forgot that I intended to leave that hatch loose to make it easier to paint it and the scope and ended up gluing it in place without thinking.

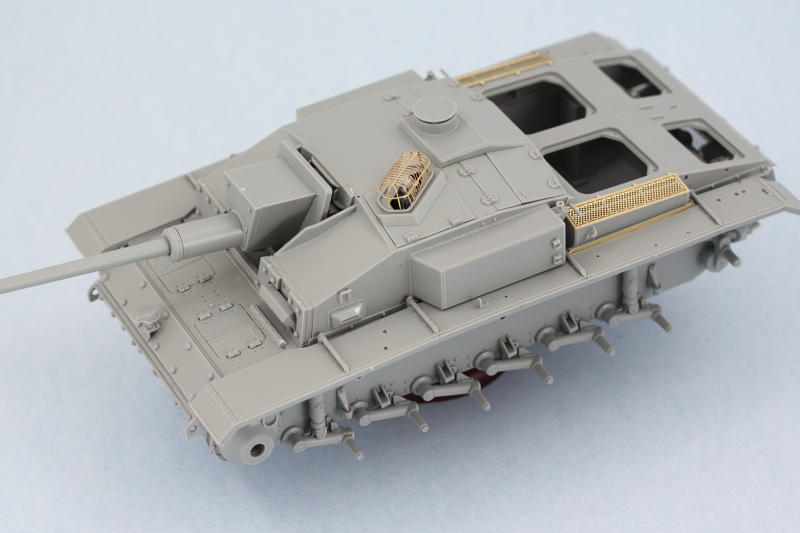
Rounding things out, I completed Step 11 that installs all the access hatches for the engine deck. The instructions don't call out the separate hinge parts, G40, so you have to hunt for them on the sprues to figure out where they are. The spare track tail gate from Step 16 was also added.
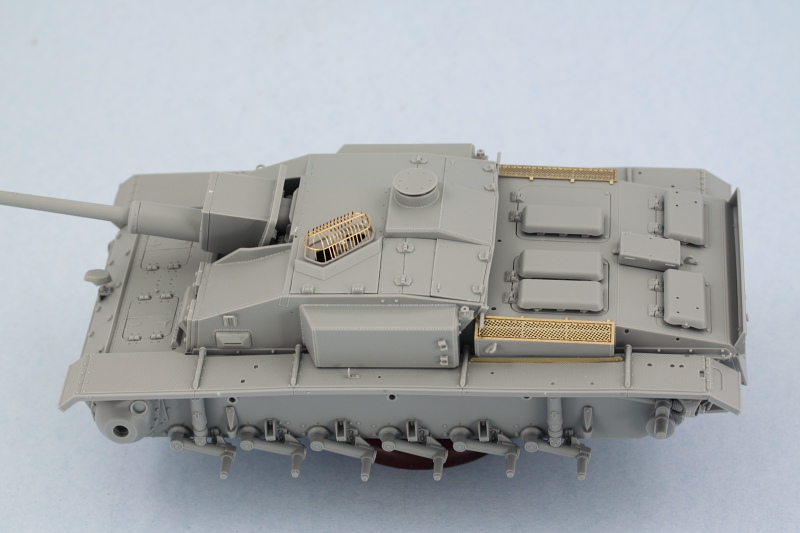
Next up will be attending to some of those fender details before this one heads over to the paint booth.
