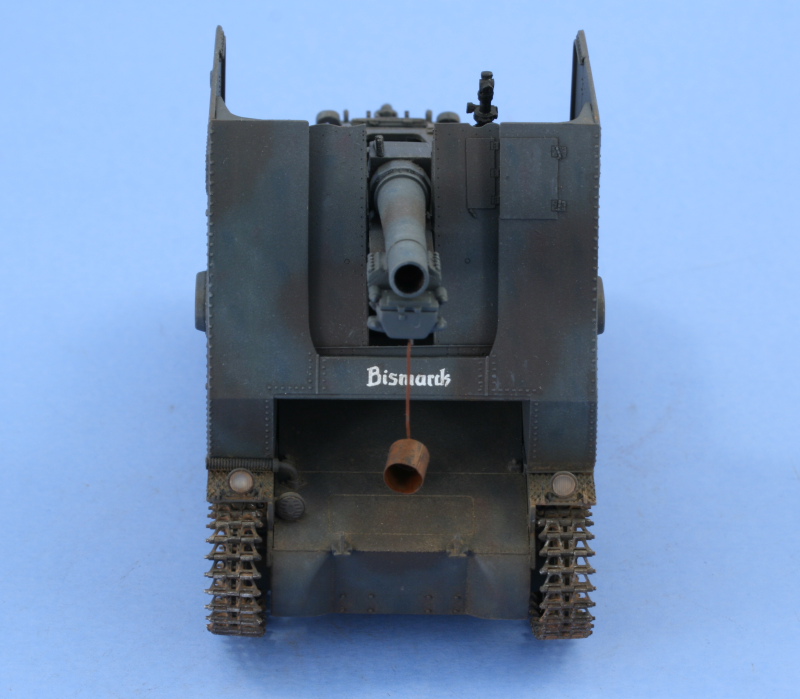
Because this is a kit-bashing exercise, the order of things is largely dictated by what parts are going to be used from which kit. The DML kit is serving as a donor/replacement for about 70% of the Alan kit, largely in the area of the hull and suspension.
The first challenge deals with using the Alan supplied interior parts with the DML lower hull. The hull dimensions between the two kits are very close but not exact and the interior plate needed some modifications and trimming at the front plate as well as along the sides to match with the DML hull. In addition, the cut-outs for the suspension axles were not correct and needed to be enlarged to fit the DML axle hubs.
The axle arms themselves also needed to be trimmed down to fit as well and, while they don't align perfectly in terms of height, they are close enough that when painted and the other hull plates fitted, will look the part. The Alan insert plate didn't extend all the way to the firewall on the engine compartment like it should, so an extension was added using sheet styrene cut to size and attached to the plate.
The firewall also needed to be placed carefully to align properly both with the interior and the raised engine deck. I elected to use the engine deck from the DML kit due to its greater level of detail and how it mates up with the rear hull plate and fenders vs. the Alan item. To get everything placed properly, the rear hull plate was glued into place and the firewall and engine deck placement tested. Because the engine deck was designed to meet up with the standard Pz I superstructure, triangular extensions needed to be fitted with sheet styrene to get it to match up properly with the firewall. Everything was dry-fit at this point to insure it would align properly.

Now that everything was ok in the interior, the firewall was glued to the styrene extension and the protective hump cover for the drive train. This was then removed from the lower hull and the other interior details added. I used the Eduard PE parts for the driver's foot plate and pedals, everything else came from the Alan kit. Test fits showed that the gear shift lever was too tall, so I clipped it off the base and shortened it by about 1 mm before gluing it back into position.

Next up was the radio sets for the firewall. The Alan items were chunky at best in their detail, so their faces were removed with a #11 blade and the Eduard items installed in their place. I wired the radio up using some fine gauge solder and added the pull handles using steel wire bent to shape.

Then the interior received its paint and detailing. As an open-topped vehicle specifically rebuilt into the Bison, the compartment visible to the outside was painted Panzer Gray while the interior areas under the glacis plate were painted with Panzer Interior Buff. Vast majority of this won't be easily visible once the superstructure is in place, but it's there for the curious.

With the interior in place, the rear engine deck was installed along with its access hatches. The DAK version of the kit, which I'd researched previously, includes the original hatches on the sprues as well as the "Tropen" style fitted in N. Africa, so it was easy to get the right deck configuration for a 1940 Bison I. The mated surfaces with the Alan firewall required some sanding to get everything to sit flush and a small touch of putty was needed to close a gap at the rear to achieve the desired fit.

Next up will be work on the superstructure.


