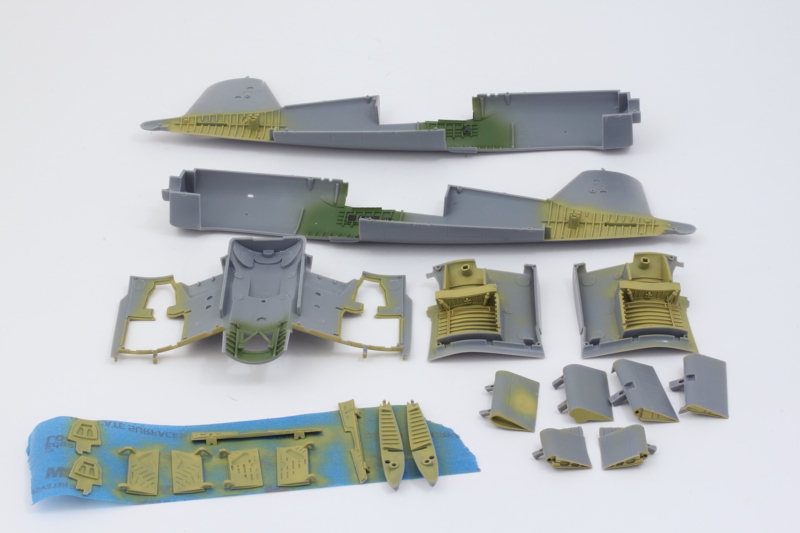
Lots of progress to report this time around with the Corsair. First order of business, I airbrushed some of the Yellow Chromate mix in all the internal spaces that needed it. For good measure, I also used it to check the putty/fill work on the one flap and made some adjustments there to get it nice and smooth.

That meant I could now install the cockpit finally, so it went into the right fuselage side first so it wouldn't shift around when I joined the halves.

The fit on the fuselage is really very good, especially at the front. Liquid glue and some slight finger pressure was all that was needed there while the rear half needed a little more persuasion with the help of some rubber bands and smooth jaw clamps on the tail fin.

While the fuselage set up, I assembled the wing roots. The bottom halves are both flexible and a little fragile, so I used some non-slip clamps there to hold it all together while the glue set.

Coming back to the fuselage, I added the dorsal insert that installs behind the cockpit. This is a two-part deal that fits very snugly in place. It was at this moment that I realized I forgot to open up the slot for the antenna mast...I was too distracted by other things to notice the call-out in the instruction step until it was too late. I'll have to get a little creative on installing that later on.

Some very light sanding was all that was needed to remove the very slight join seam.

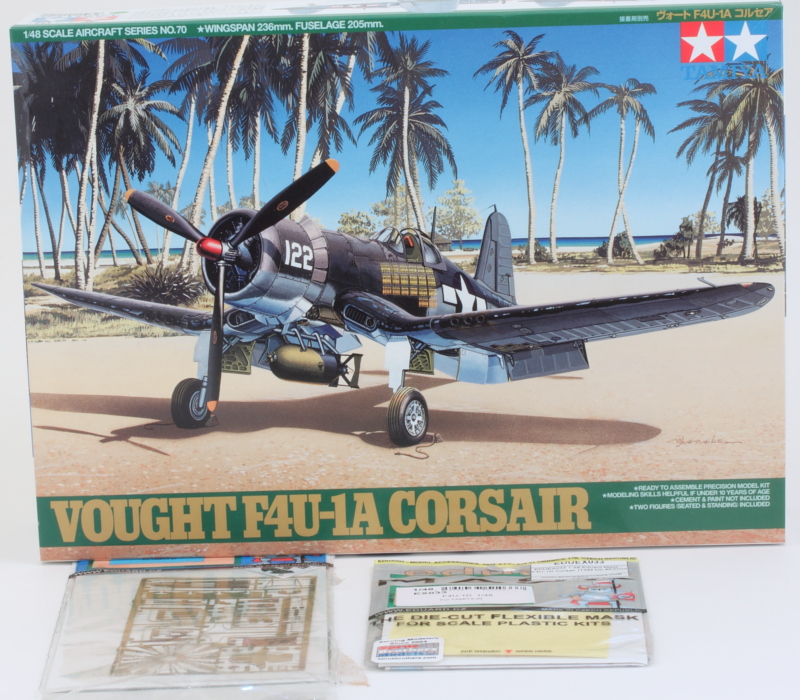
Wing roots got their support spars and inserts for the wing joint. The oil coolers were also added and their fit was mostly good, just some small putty and sanding needed in a couple of spots. I also added the Eduard PE cooler screens for some extra detail.

Main wing portions were assembled next. Pretty straightforward exercise, I used some small clamps along the edges and liquid glue, then removed the clamps once the glue had grabbed.

Last little bit for the day, I added in the Eduard PE insert for the tail wheel bay. This calls for a rectangular part to be removed from the blank bulkhead to match up with the opening in the PE part. That would've been hard to do with the halves separate, so now that the fuselage was joined, I used a mechanical pencil to outline the opening needed, drilled out the center with a micro drill, then widened it with a square needle file until it matched the necessary dimensions. The PE part went in and voila! Extra detail.

I'll need to airbrush a little more yellow for the tail wheel bay and a couple of spots on the main wings where the flaps are deployed, then it will be time to join the wing roots to the fuselage, add the stabilizers, and start thinking about the serious paint work. Since the main wings can slide on/off the spars easily, I'm probably going to paint them separate and then match everything up. Same thing with the engine and cowl. This modular approach might make life just a little easier in terms of getting the three-tone camo scheme on, have to see.
