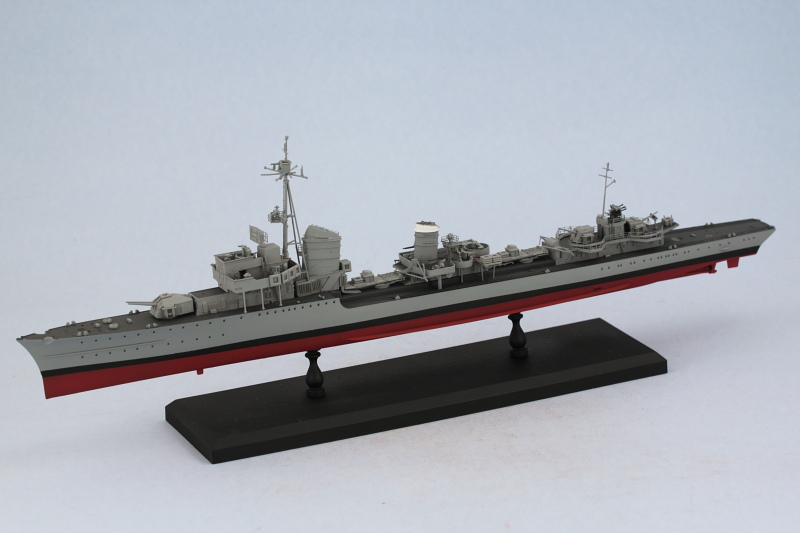
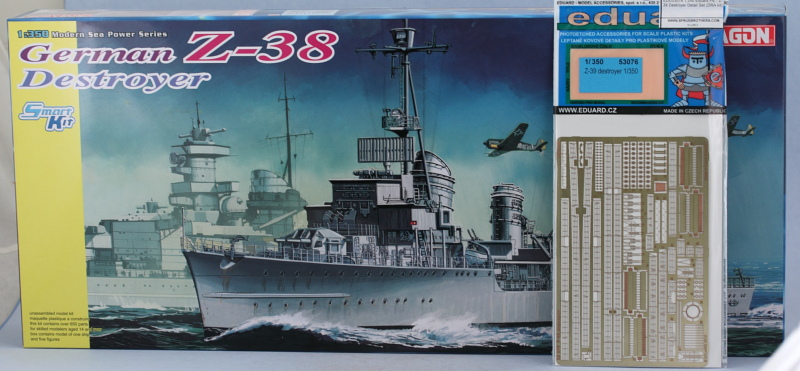
This latest update is a big one so let's dive right into it!
In order to finish off the AA gun deck, it was necessary to assemble more AA guns of the single 20mm and double 37mm variety. This is covered under Step 1 of the instructions and the parts involved are tiny. I didn't bother with the PE hand wheels and little crew shoulder pads for the 20mm guns as there was no way to handle them without knocking those delicate parts off. Two of the 20mm guns are destined for the AA deck, one for the aft main gun deck, and the fourth one forward of the bow dual gun turret.
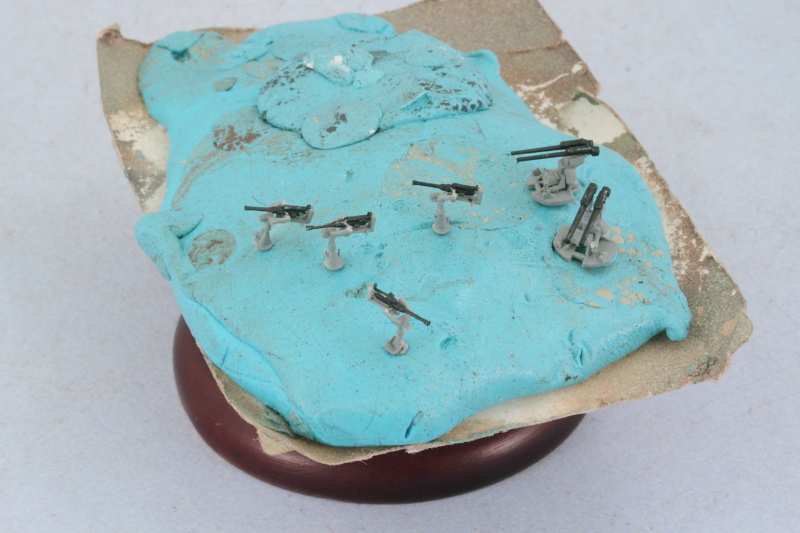
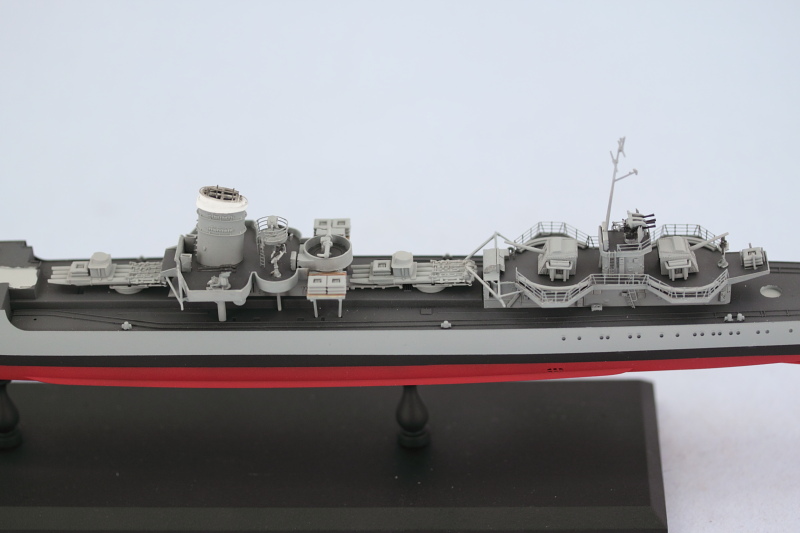
The aft smokestack received its white top and some soot weathering courtesy of black artist pastels before it was added to the AA gun deck. The searchlight was installed on its platform and the AA guns added as well. I had to position the two 20mm guns a little creatively as they didn't quite clear the searchlight tower if aimed at 90 degrees as called for in the instructions.
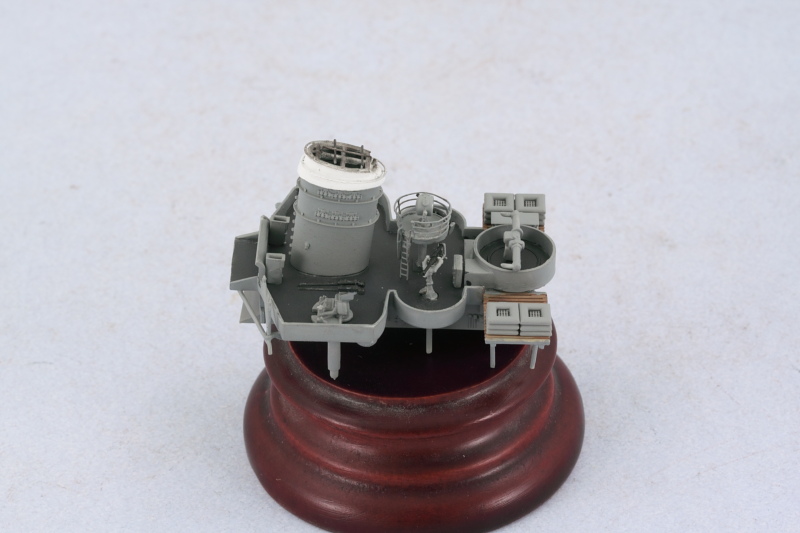
At the same time I had airbrushed the stack and the AA gun deck I had also airbrushed the torpedo launchers and the main gun turrets. Those all got a test fit to see that everything was playing nice with each other before moving on forward to the bridge deck and main smokestack.
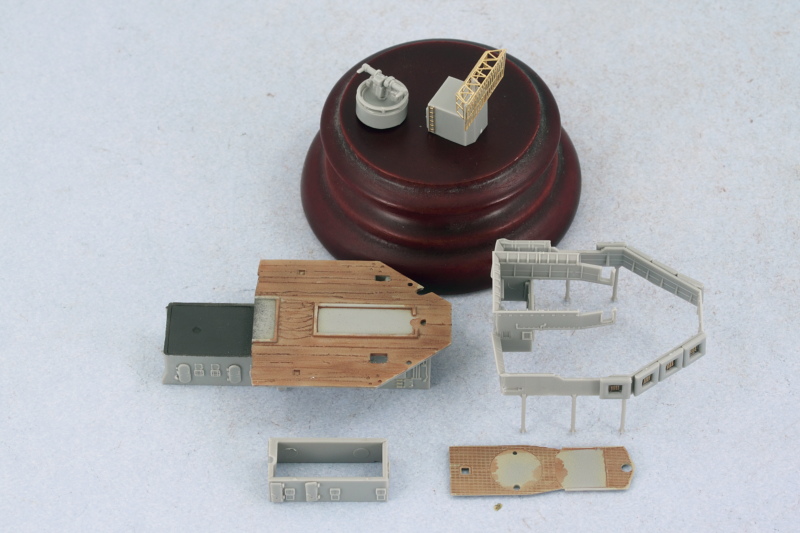
The bridge deck is a multi-layer affair covered under Steps 4-7. The wood portions had been airbrushed with a 50-50 mix of MM enamel Panzer Dunkelgelb/Light Gray and allowed to thoroughly cure. Then a light wash of enamel MM Leather was applied followed by varying layers of artist pastel application using raw umber, burnt umber, and yellow ochre to create some variation in the wood look/feel. The Dragon design of how the parts go together allows the two different deck levels to be kept separate from each other if you're careful in the assembly process and use the wood floors as a support while you build up the separate panels of the raised portions. I opted for the PE version of the radar antenna because it looks so much better than the solid one-piece styrene alternative provided in the kit. As a side note, the front plate of the superstructure base that fits into the main deck isn't called out in the instructions but can be found as part E3, the only part used from that sprue for this particular kit.
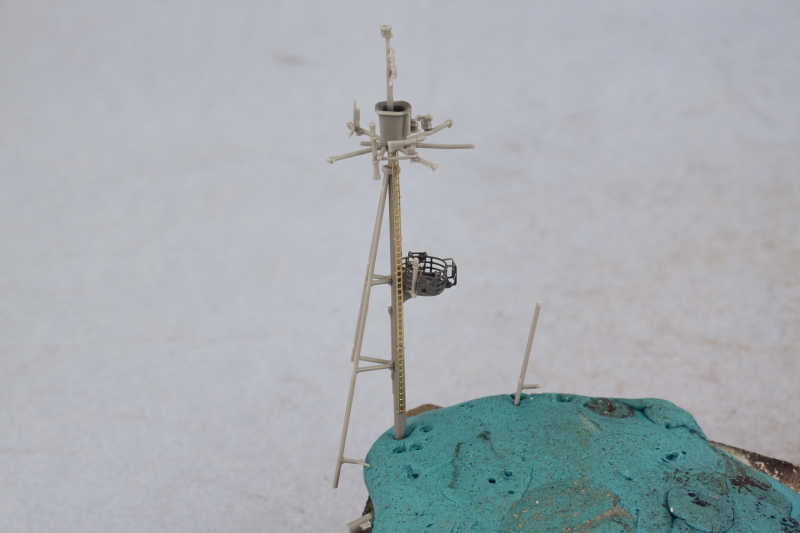
Steps 2 and 3 deal with the main mast and all of its various details. One of the support legs was broken on the sprue so it will get a full repair later on as it's too delicate to work with at this point in the build. Later on in the build when I test fit the mast into the deck, the PE ladder proves to be too long and has to be trimmed back vs what you see in the photo below to allow the mast to sit at the right height, so fair warning at this point to others attempting the same project in the future!
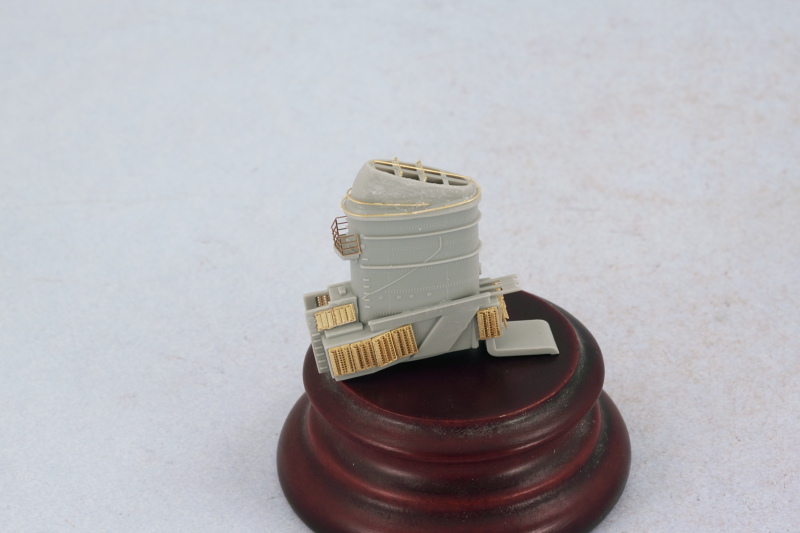
While the mast set up, I worked on the main smokestack as called for in Step 8. The PE screen/flap combinations have to be added as individual pieces and then lined up together to create the full arrangement. The instructions don't call out the rear panel screen/flap PE part, it's MB27, so don't overlook it in the process. The Eduard set provided the railing for the small lookout platform on the smokestack and the Dragon PE was used for the tiny railings/guards on the stacks itself. A minor CA mishap when attempting to fit the top-most ring rendered that part unusable and required me to do some sanding repair work but otherwise no lasting damage resulted.
All of the bridge deck components were airbrushed and then the bridge assembled first with all of its added components along with Eduard ladders and railings where appropriate. The smokestack component was then joined up with the bridge and the mast installed. Once the mast had set, the repair was accomplished with the missing leg so it had some support at both the bridge and the smokestack to help stabilize it.
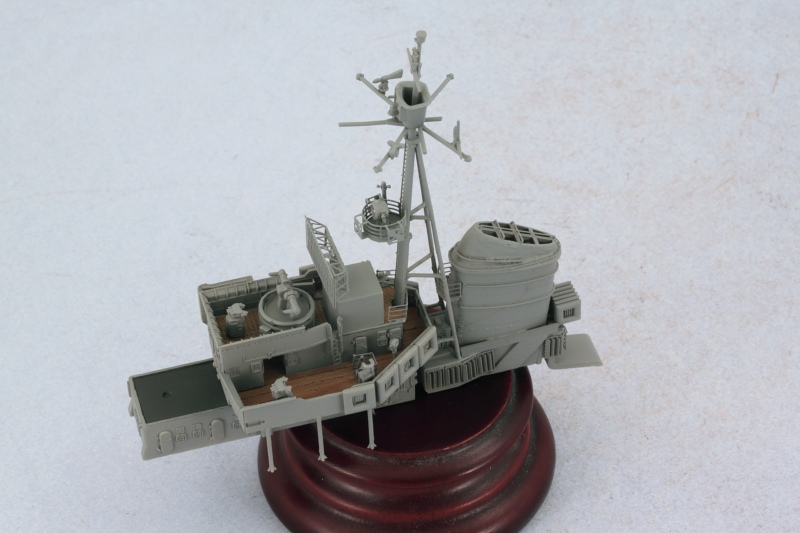
So this is where things stand right now, still a lot more work to do in the details department!
