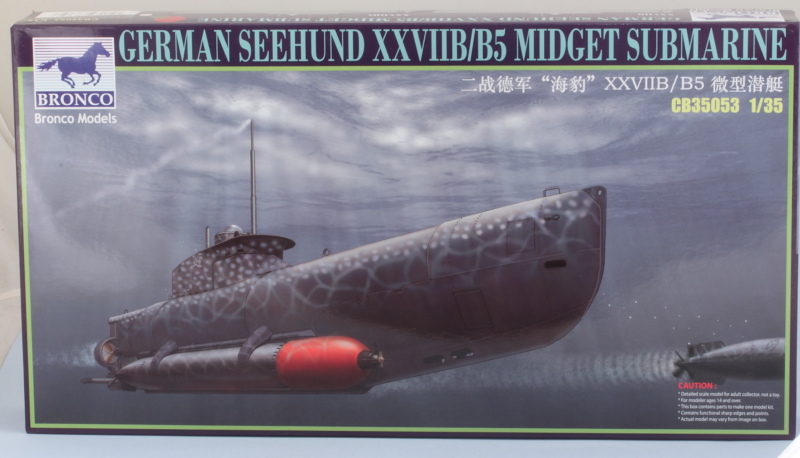
More progress on the Seehund to report! Continuing on from before, Step 3 deals with the main hull assembly and adds the rudder and propeller arrangement. Here's where the first choice between the B or B5 variant comes in, so you have to make sure you choose the right parts to get the proper configuration. It also determines which holes you open up at the stern to accept the rudder pins, with the further out holes meant for the B5. Not called out in the instructions is the need to open up holes in the hull sides if you're going to do the B5 with the extra fuel saddle tanks, so be aware of that as well.
I carefully glued the hull together starting at the bow and working my way back, using liquid glue and finger pressure to get a good join in sections at a time to avoid any slight misalignments. The finely detailed bow eyes were a little damaged from shifting around inside the box on mine on one side, so I had to carefully repair it using a brass clip and small amounts of liquid glue. Once the glue had set, some light sanding along the join eliminated the seam
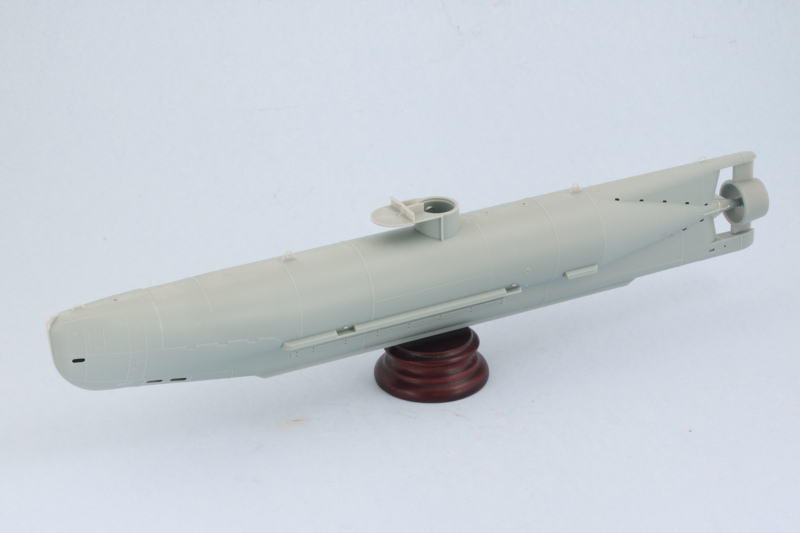
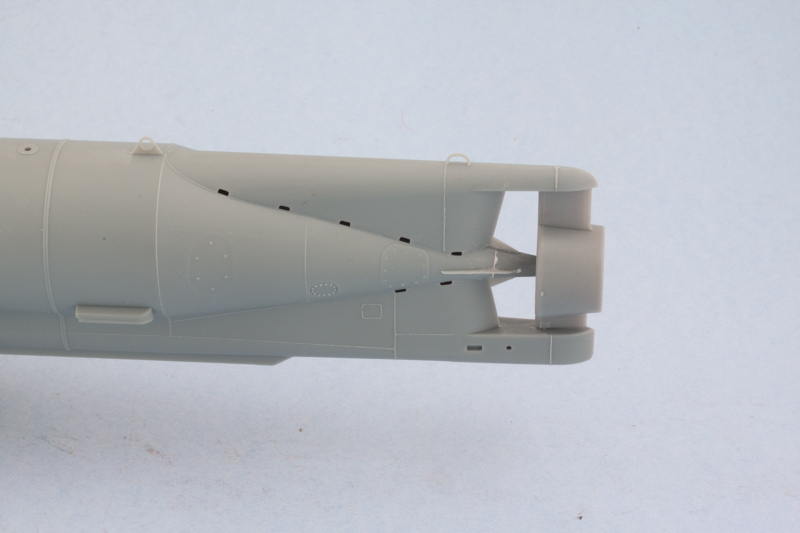
The only place where there were some minor fit issues was at the stern where the prop shaft cone mates up with the 'fins' on the hull. I used a little bit of putty to correct it and careful sanding with a sanding twig to correct it.
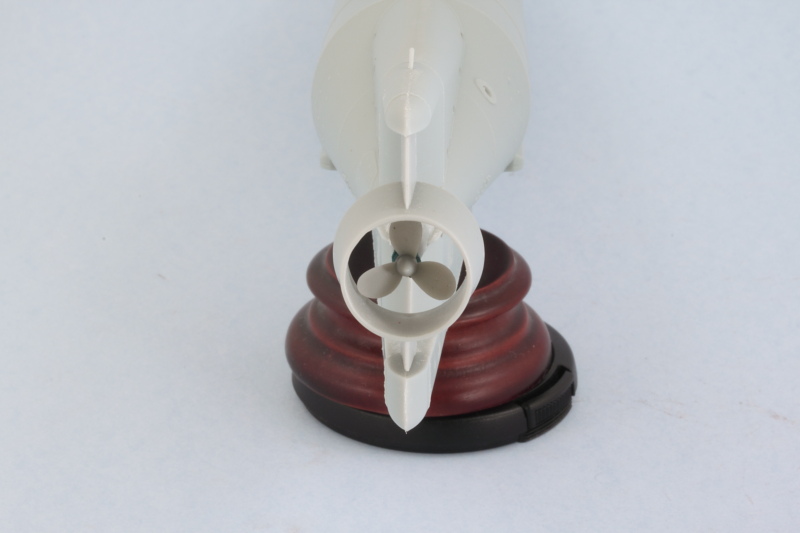
I was careful with the glue around the rudder posts so that it could stay movable. This is helpful to not only ensure it lines up properly but also sits at the correct height relative to the prop. The prop was temporarily placed with some poster blue tack to make sure everything played nice here.
Step 4 adds all the top-side details as well as the side mounts for the torpedoes. The A9-A10-A-19-A21-A22 part combo (I don't know what the actual thing is called but looks like some kind of pressure valve/ballast device?) is the critical one to ensure the sail sits properly, so I cleaned up part A29 that's called out in Step 5 to make sure I didn't create any fit or alignment issues at this point.
The instruction diagrams and steps lead you to believe that you can slip the sail on/off over the conning tower and the periscopes after they are installed but this is not really the case if you also install the top hatch, A6 onto the conning tower as called out in Step 4. If A6 is installed, the sail cannot fit over the hinges at the front of the tower hatch while still lining up with the other components. My original intent had been to use the sail as a fitting guide and then paint the interior since some of it is visible after installation before it was permanently added. Of course, I discovered what I just noted above regarding the top hatch after I had already installed it onto the conning tower and it had set up...so that went out the window. The sail can still slide up a little to allow for some access from the underside, so I'll have to see what can be managed from a painting angle before permanently attaching it and doing the rest of the painting as part of the regular process.
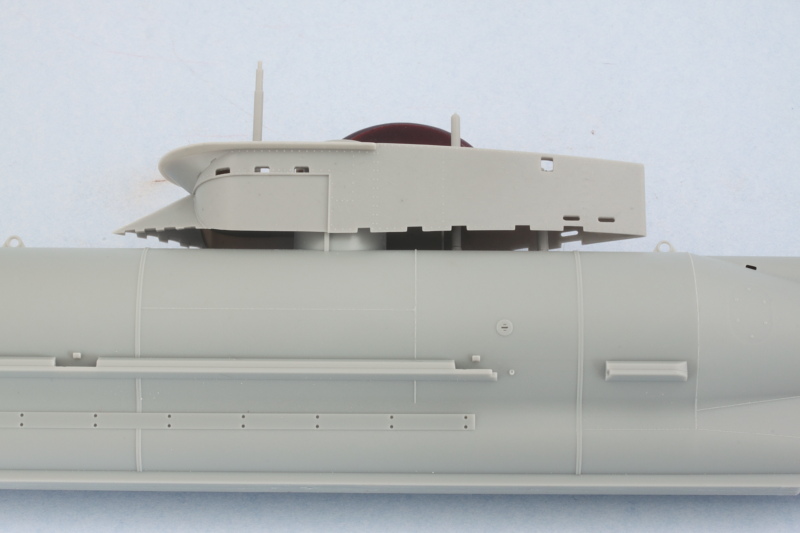
Despite that little quirk, the fit and alignment is pretty tight and Bronco did a great job in that area IMHO. The conning tower drum, part A3, had come loose off the sprue in my kit and had some small damage as a result on the top sides, so a little putty work was necessary to patch it up. I left off the clear 'bubble' for the hatch and will install that later after painting.
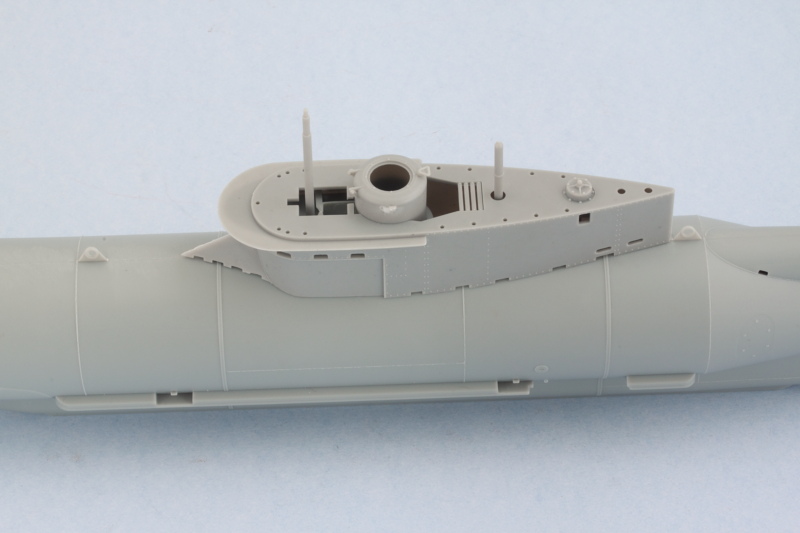
I still need to add some details to the lower hull including the torpedo mounts and the diving planes but should get this one into the painting stage here pretty quick.
