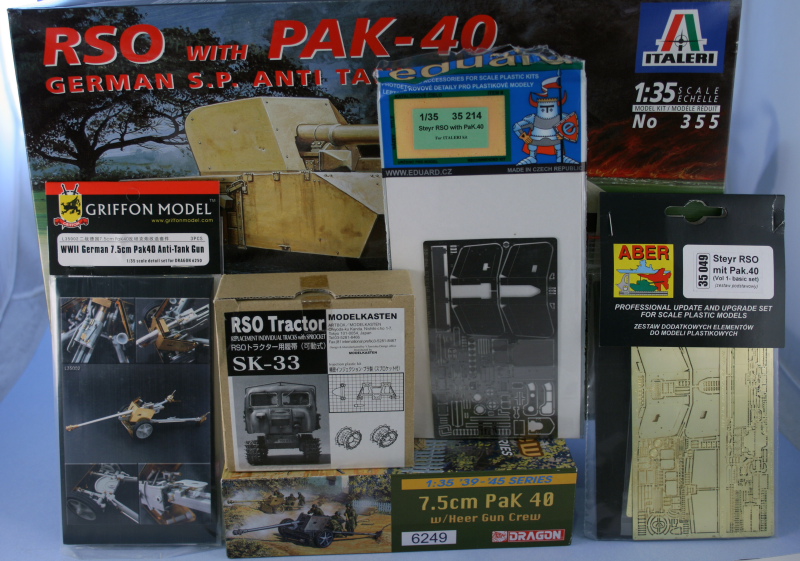
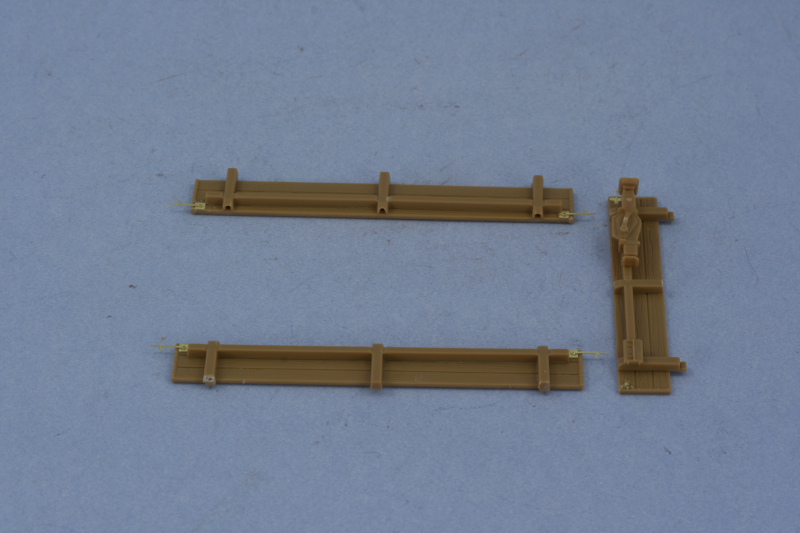
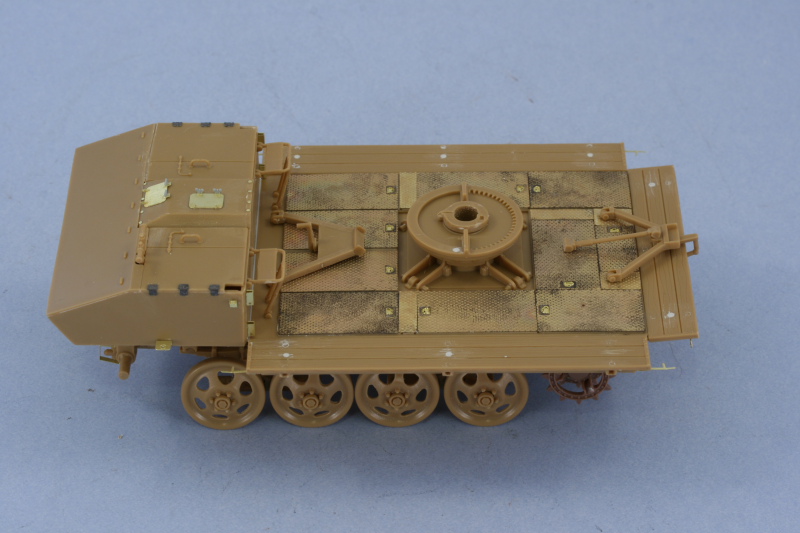
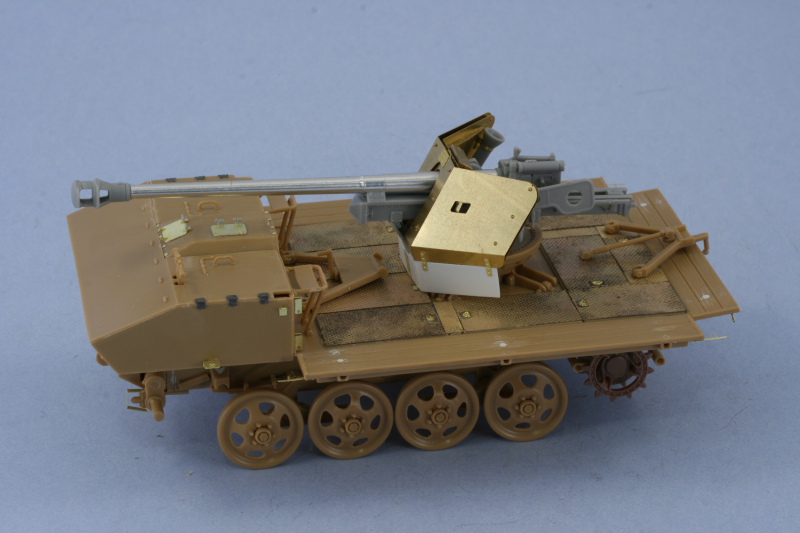
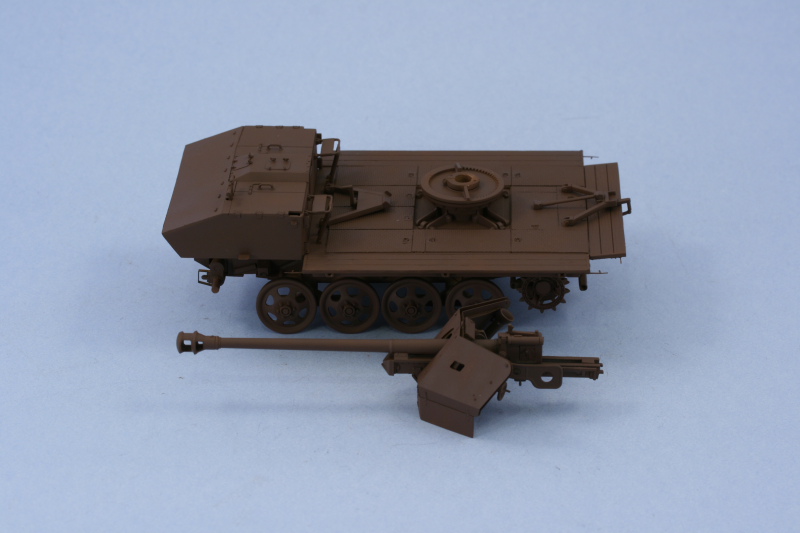
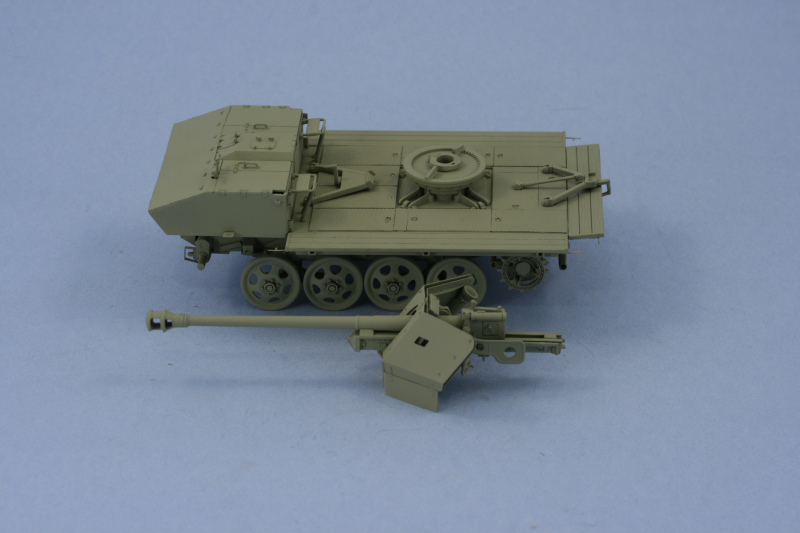
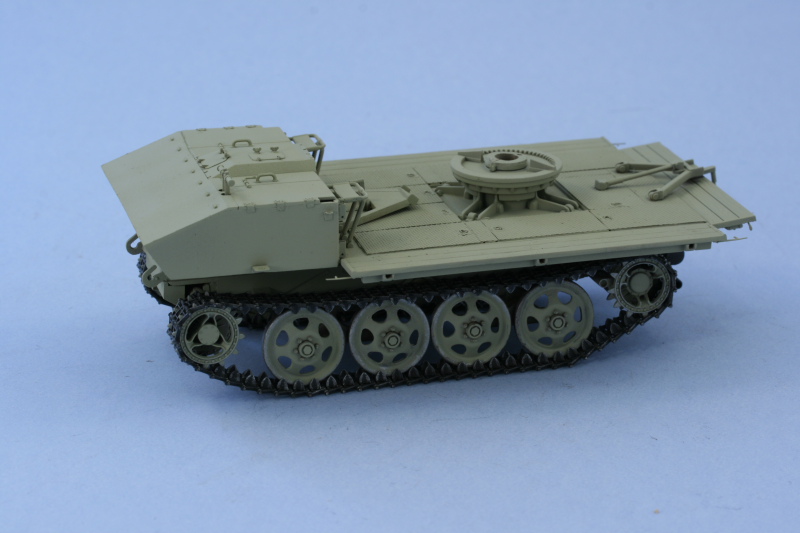
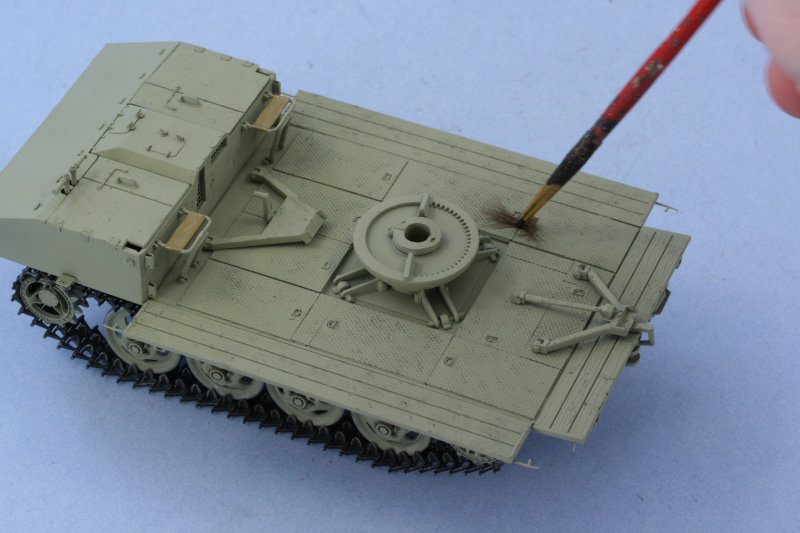
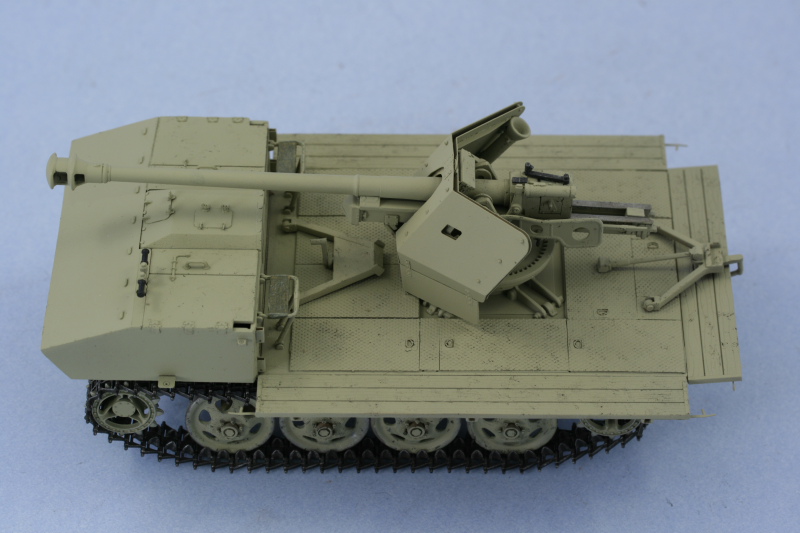
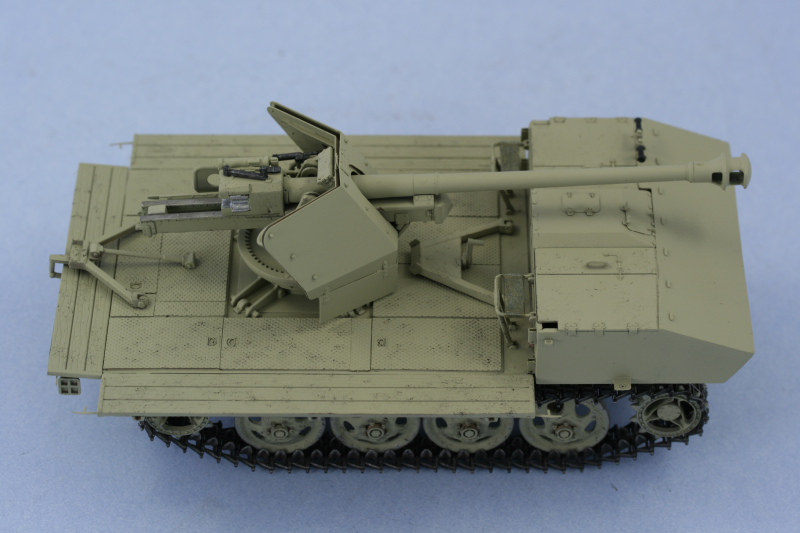
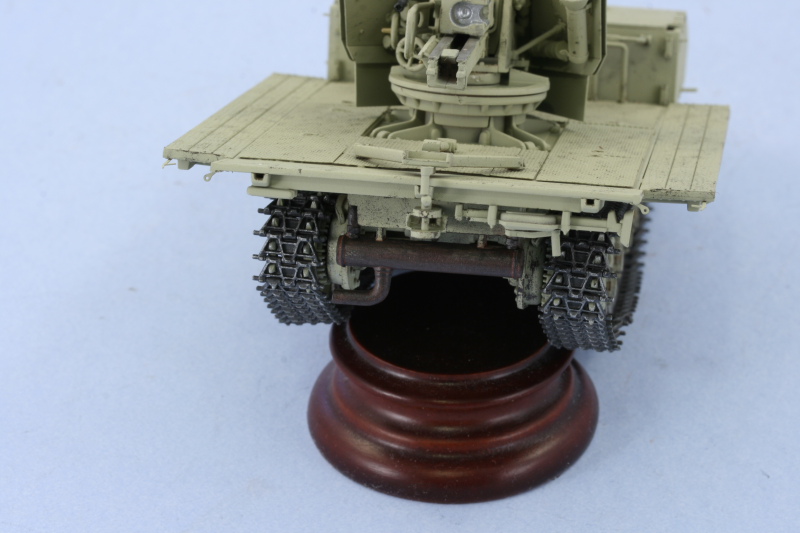
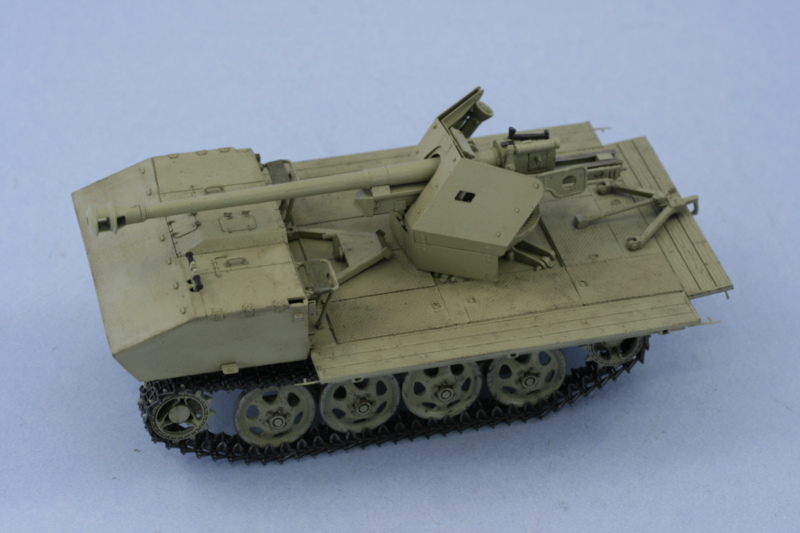
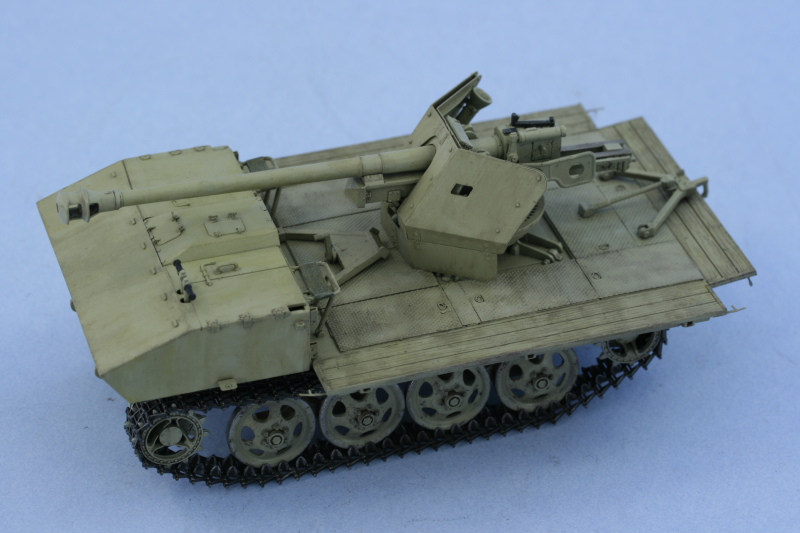
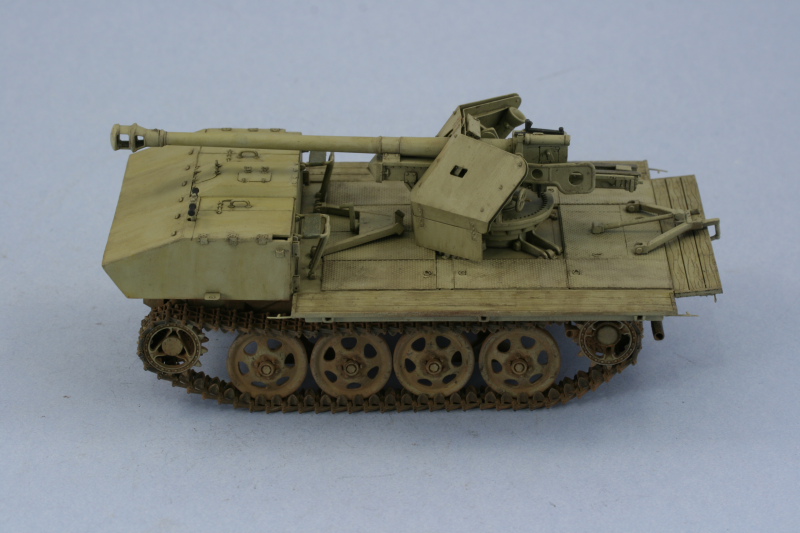
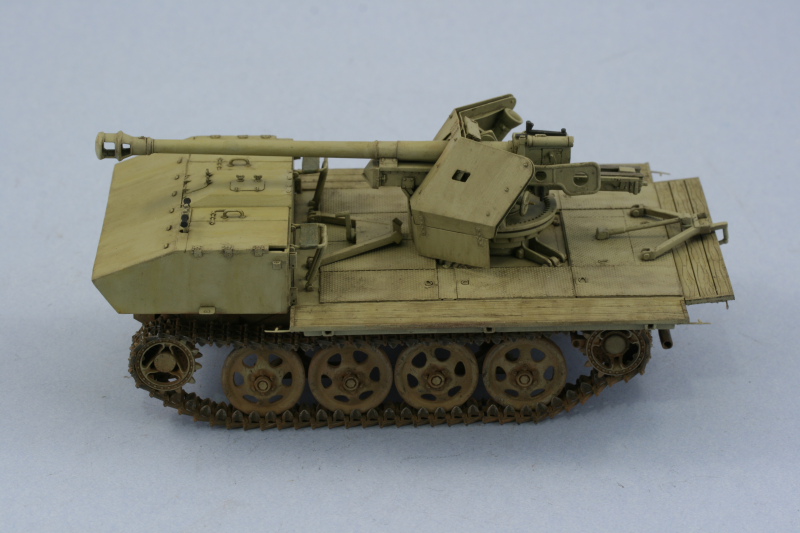
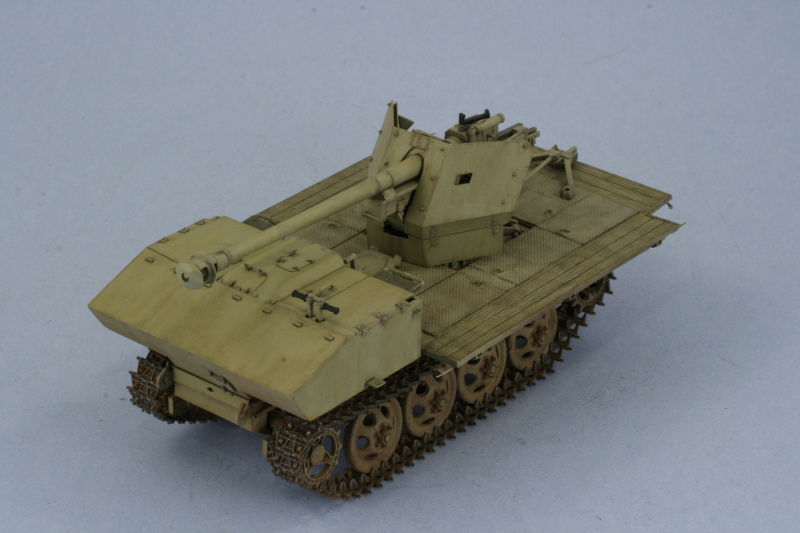
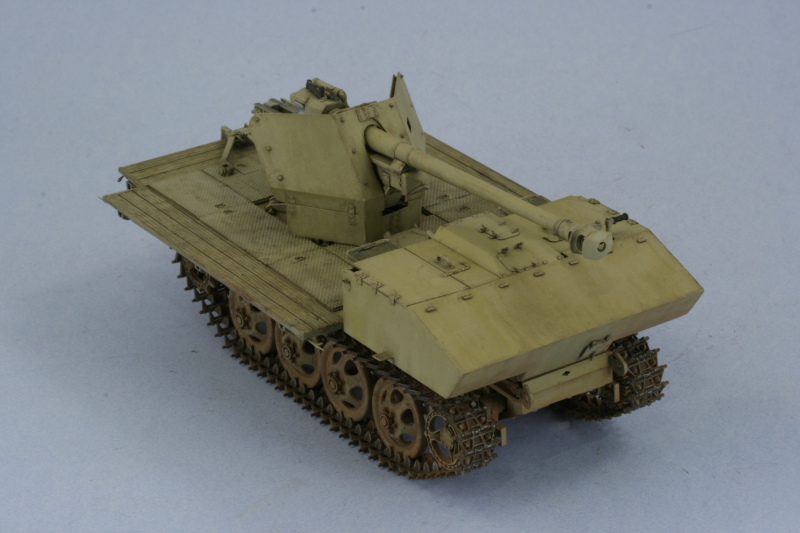
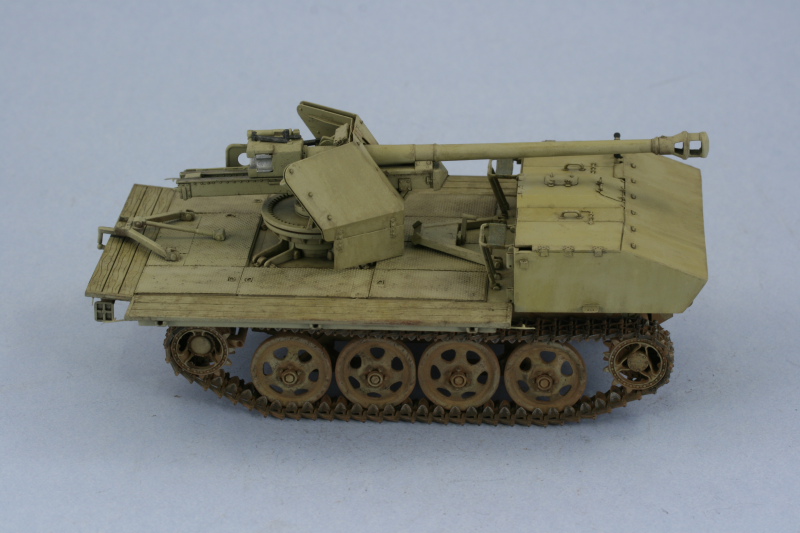
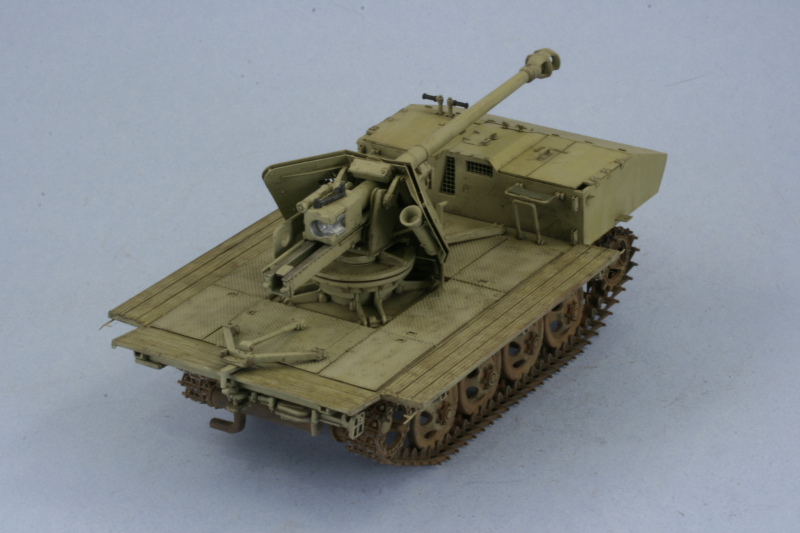
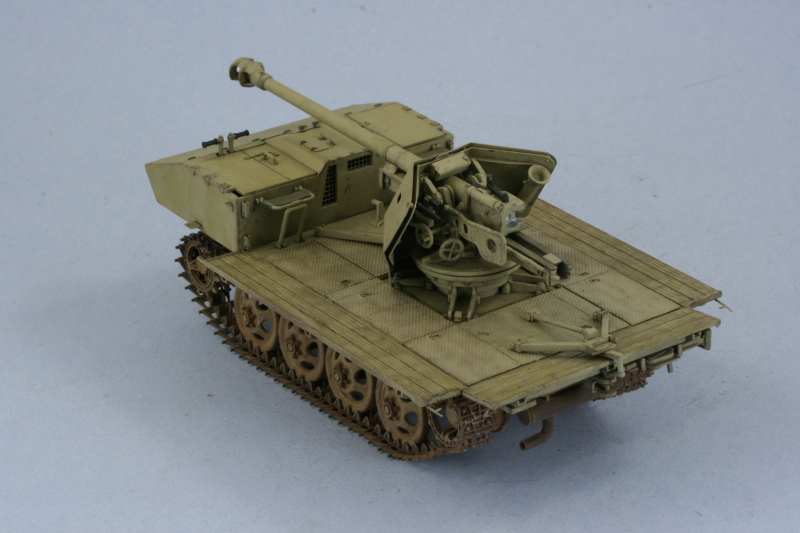
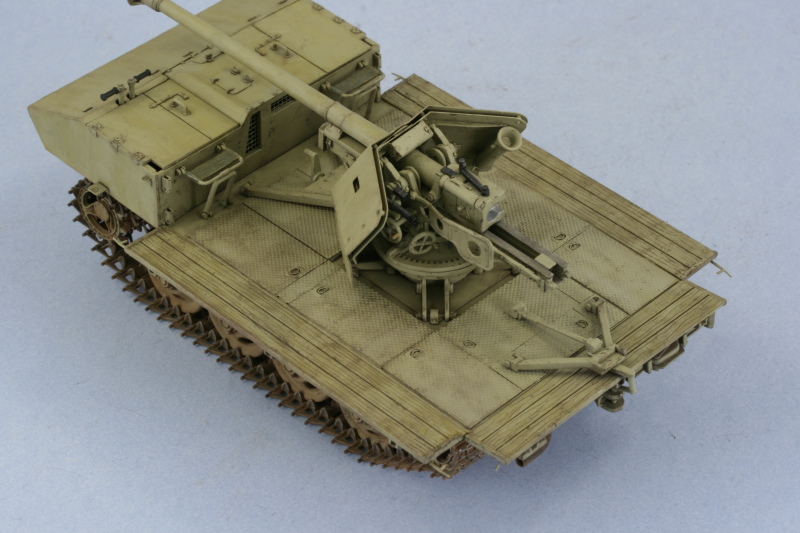
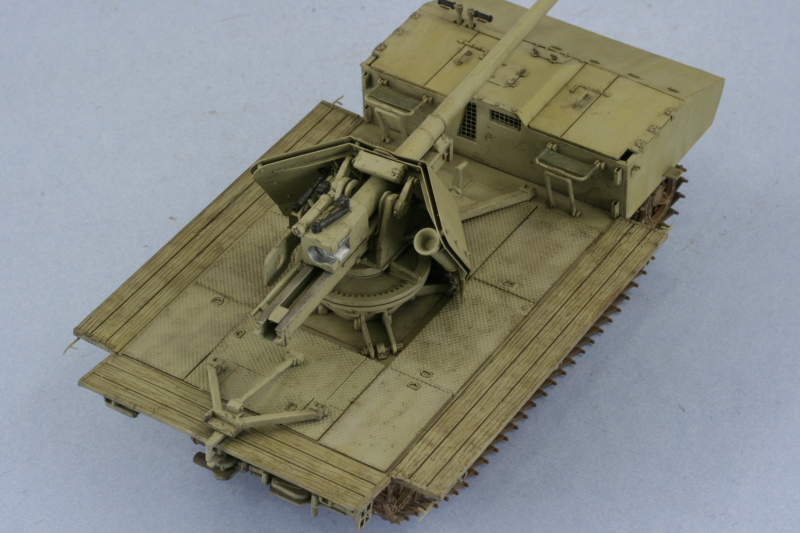
I've been wanting to tackle this kit for a while and finally decided its turn at the bench had come. As you can see from the materials used, this is going to be a kit-bash and PE buffet approach, taking a little bit from here and there to get the desired result that I want. I had at one time contemplated doing the full Aber route and replacing the cab and fighting platform but common sense got the better of me and I settled for a somewhat less ambitious project in the end.
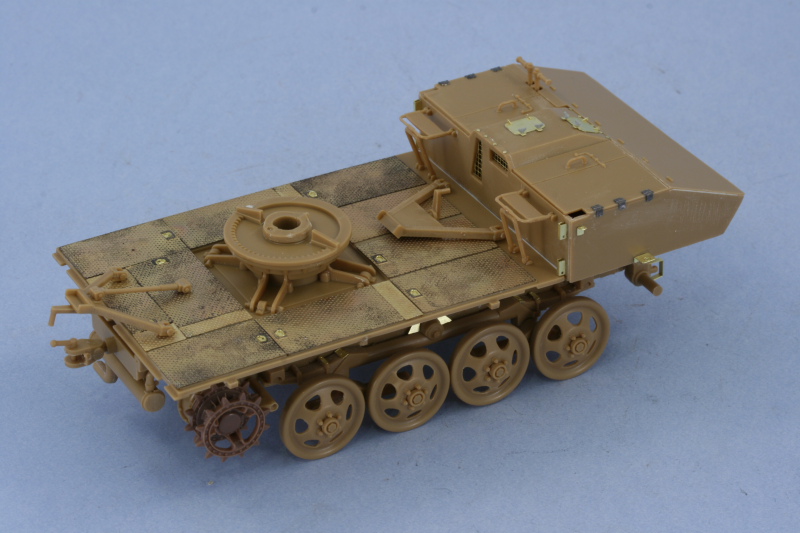
Work began in the Italeri instructions with Step 1 which deals with the construction of the chassis box. This is a multi-part affair with the floor, top, sides, front, and rear parts all separate. The fit was generally good but there was some flash to deal with and of course ejector marks in various places but nothing out of the ordinary for a kit of this age. I did have to use some rubber bands in a couple of places to insure everything lined up square and a combination of liquid glue and regular glue did the trick.

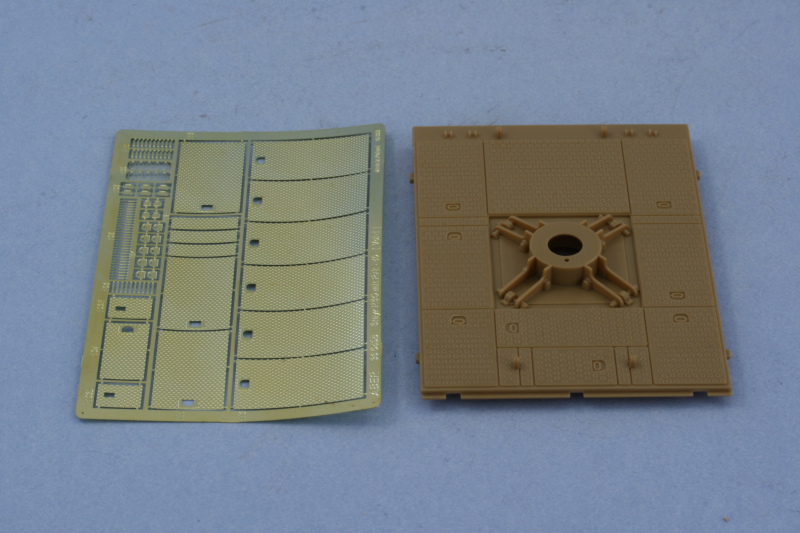
Step 2 began work on the suspension and running gear. I filled the sink marks on the spring mount points with Squadron white putty and sanded smooth. The suspension elements were a tight fit into the hull sides and had to be coaxed a bit to get them all the way up against the sides. The road wheel arms were added next and some Aber PE used to dress up various points that were lacking in detail.

Continuing on with the step, I removed the eight road wheels from the sprues and cleaned up their prominent sprue points and sanded down the large mold seam on each. Some flash had to be removed in the lightening holes as well with a sharp #11 blade. The wheels were then mounted using the cap bolts so that they could fully rotate. They sit a little wobbly but that will be addressed later on after painting when they are glued into their final position and alignment.

Skipping around a bit in Steps 3 and 4, I went ahead and made the necessary sprocket replacements using the MK parts since the kit-supplied parts have the wrong pitch and won't work with the MK links. The MK parts were mated up with the sprocket backing parts from the kit and test fit front and back.

The MK tracks were assembled, a straightforward process since one of the link pins is already molded on and all that's needed is to add the 2nd pin to assemble the workable links. I assembled two runs of 60 each and then test fit as I added more links with the magic number ending up at 66 for each side despite the instructions calling for 67-68 per side.

The front set of sprockets were left removable while the rear sprockets are in place due to the mud-scrapers that prevent them from being removable. They aren't glued into position yet so, like the road wheels, are still a little wobbly but that will be taken care of later. Reference photos showed that the mounts for the mud scrapers had hollow circular ends so I drilled out the molded-solid parts with a pin vise to add a little detail before installing them. The left side scraper interfered with the sprocket teeth so I had to sand it down while the right side had no issues at all.
On the front end, I installed the lower hull front cover and added the Eduard key-hole plate between the towing hooks instead of the kit supplied part. The tow hooks were too thick to allow this plate to fit so they were carefully sanded down to correct that and also give them a more in-scale appearance.

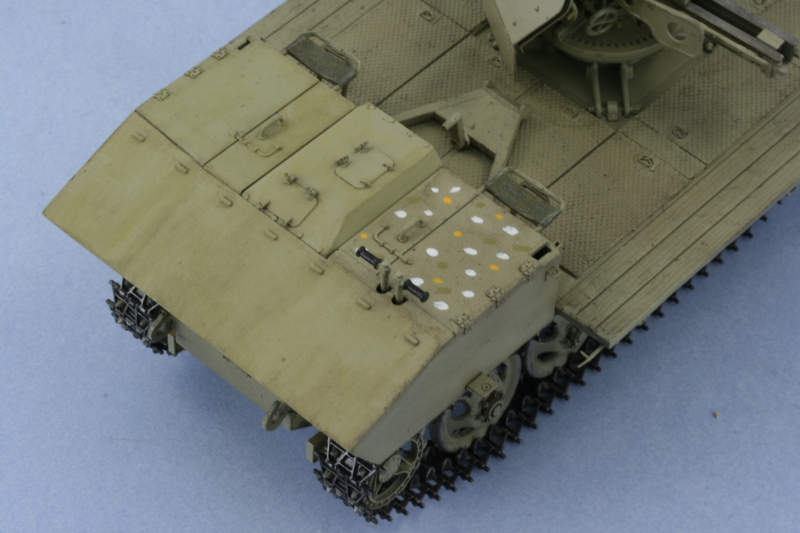
That moved me on to Step 5 which dealt with the assembly of the front cab. Like the chassis box, this is a multi-part assembly with the cab floor, sides, roof, and back as separate pieces. I assembled the cab using liquid glue and once dried used putty to fill some minor gaps and then sanded all the edges smooth to replicate the sheet metal construction as seen in reference photos. I decided I was going to pose the gun in the combat position so that meant closing up the driver's station since this was not manned when the gun was in action. I removed all the molded on detail on the cab exterior sides and replaced it with a combination of Aber and Eduard details. The Aber hinges were designed to be workable but were plain...so this is one case where the Eduard details were superior at least. I also removed the molded on hatches for the engine compartment and replaced them with the Aber hatches. The Aber wing-nuts were a little anemic so I used some left-over styrene parts from a DML Pz IV build in the spares bin instead. The 9 blots that secured the engine compartment cover were added courtesy of the Aber set to round out the front side. Since the right side compartment hatches were molded in one piece with the cab roof, I added the missing panel line at the front with a triangular needle file as well.

Before constructing the cab, I had removed the molded on detail from the inside that did a poor job of replicating the mesh screens for the engine air intake vents. I used a #70 finger drill to drill a series of holes around the perimeter of each opening and then used the point of a #11 blade to cut through each hole. The opening this created was then carefully cleaned up and the mesh screens added using liquid glue. The screens were extremely delicate but Aber did a great job replicating them IMHO as the reference photos show these were a large mesh type and not the smaller type more commonly seen on tank intakes for example.

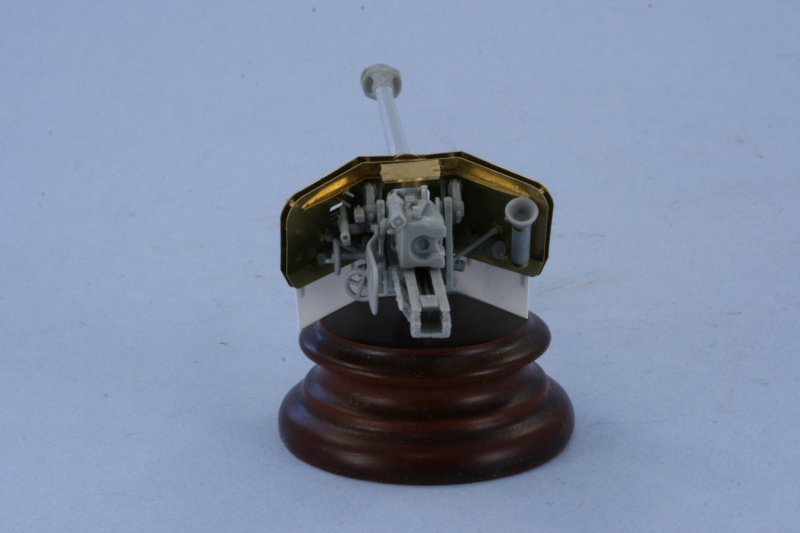
Next up will be the work on the Pak 40.
