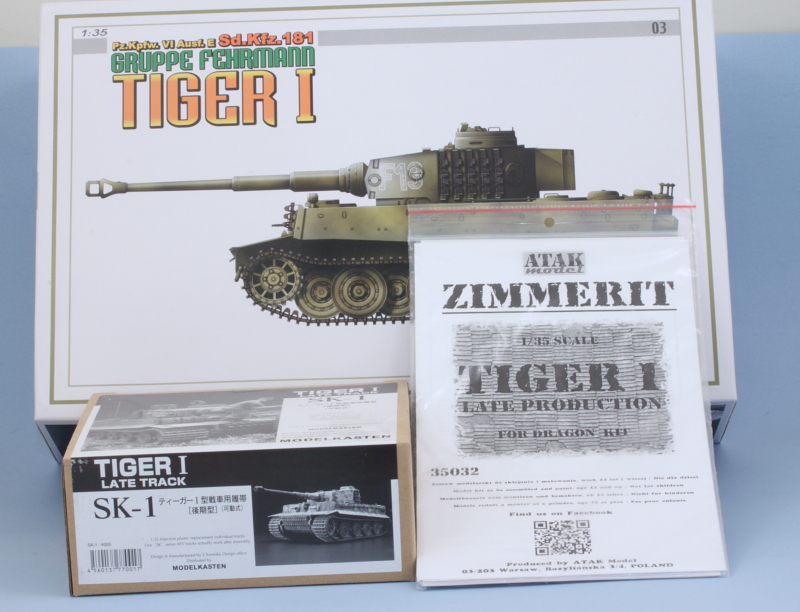
One of the inevitable conditions of a 'thrown-together' kit like these Cyberhobby combinations vs. a 'purpose designed' kit is that while all of the necessary elements are there, they weren't all designed to work together as a whole kit. This introduces some little discrepancies along the way but nothing that isn't insurmountable...but you do have to watch out for them. A couple of them popped up today while I was working on getting the hull together. More on that below.
First order of business was getting the glacis and front plate ready to go. The instructions would have you install the glacis plate first and then add the hull top with the front plate already attached to it in Step 13. That not only produces an inaccurate layout, it's impossible to do as the glacis rests on top of a shelf at the base of the front plate and not the other way around.

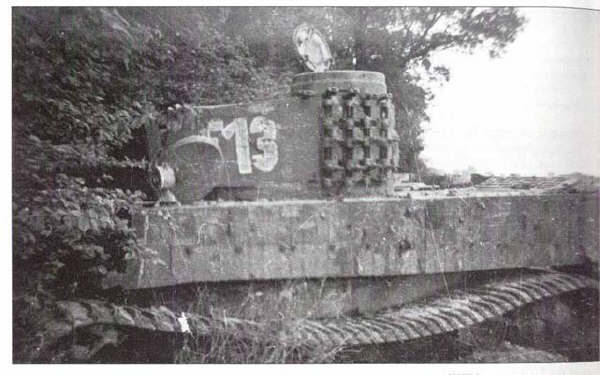
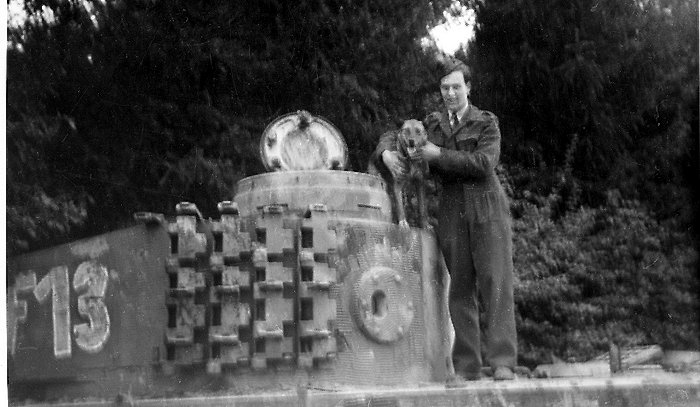
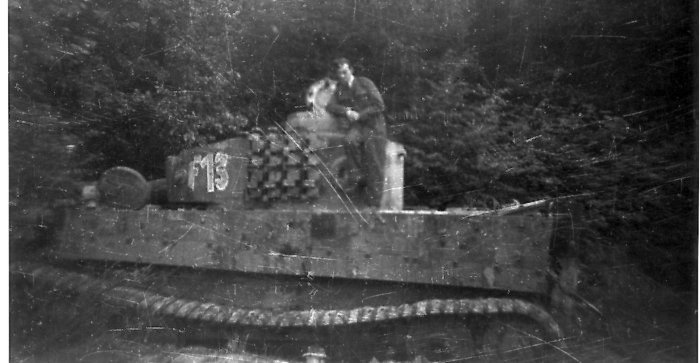
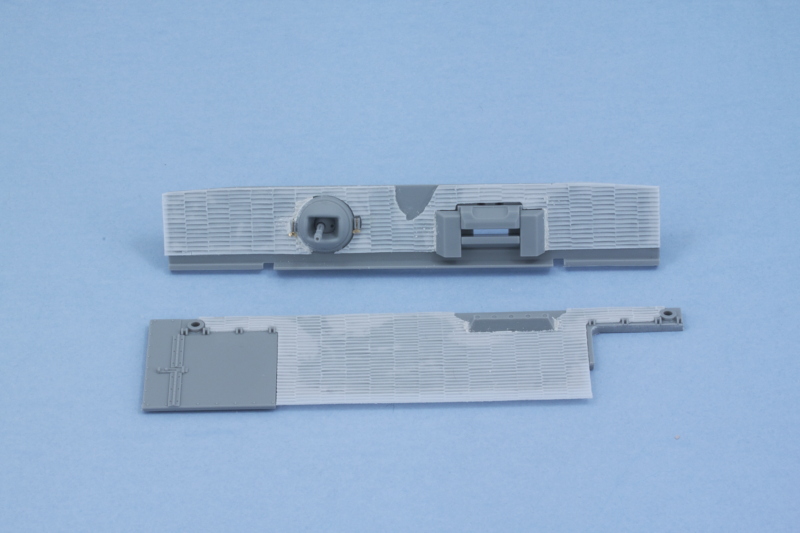
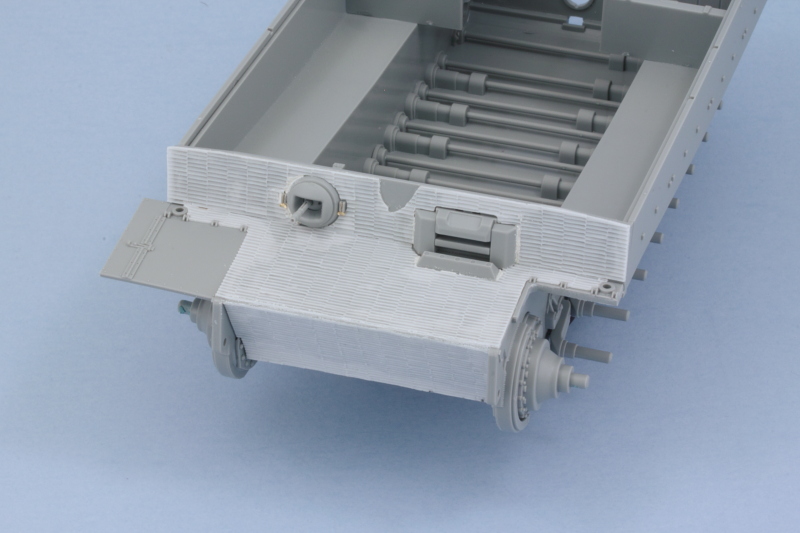
After looking at the reference pics, I decided to remove the left side front fender but left the right one in place since I can't be sure if it was or wasn't attached. I also added the Atak zim panels using a combination of Gator Grip Thin Blend glue and liquid glue run around the edges after the panels were in place to lock everything down. Squadron white putty helped fill in some small gaps and I removed a small section on the front plate with some curved scissors to simulate some chipping damage to the zim. F13 is pretty beat-up in the photos and while I won't be showing it as a knocked out vehicle, some of the wear and tear it's sporting will be included. The PE parts for the ball MG cover are mislabelled as M4 when they are actually M40 on the fret.
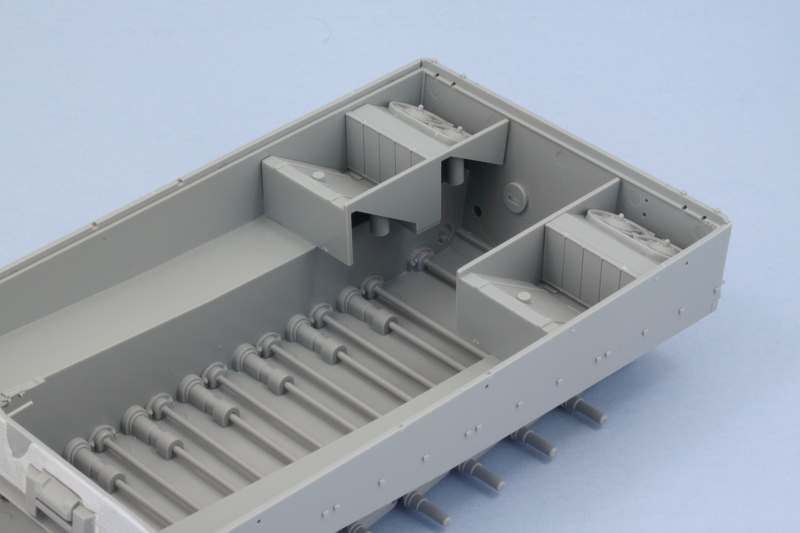
While that set, I added the engine bay details for the hull interior. The radiator tops and hoses can't be installed without interfering with the hull top, so they were left off. I will also be posing the rear deck hatches closed so I didn't bother with the PE details there either. There just needs to be something there through the grating as once the PE screens are added and it's all painted, visibility into the interior is near zero.
The hull nose plates received their zim panels as well and the glacis and front plate were installed permanently into position. I didn't apply glue to the sides of the front plate where they mate up with the hull sides just yet as they needed to be able to flex a bit to match up with the hull roof.
Speaking of that, the roof was added next. I started at the front and worked my way back to the rear. Liquid glue was run into the seams and a combination of finger pressure and light use of compression clamps got it together. I had to be careful at the front as too much pressure from the clamps would cause the roof to bulge upward, not a good thing!
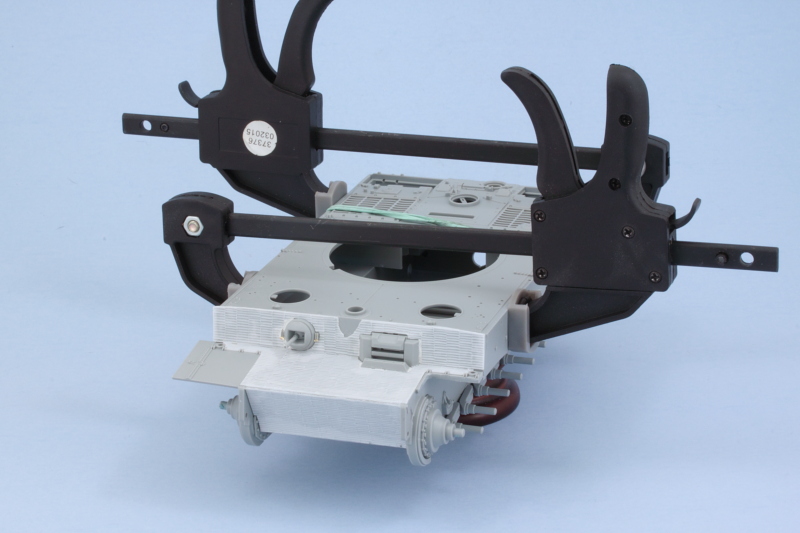
One the roof was set, the clamps came off and I had to fix a couple of spots on either side with some Squadron White putty. The alignment of the cleaning rod holders on the roof plate doesn't match up with the notches on the hull because these come from two different kits.
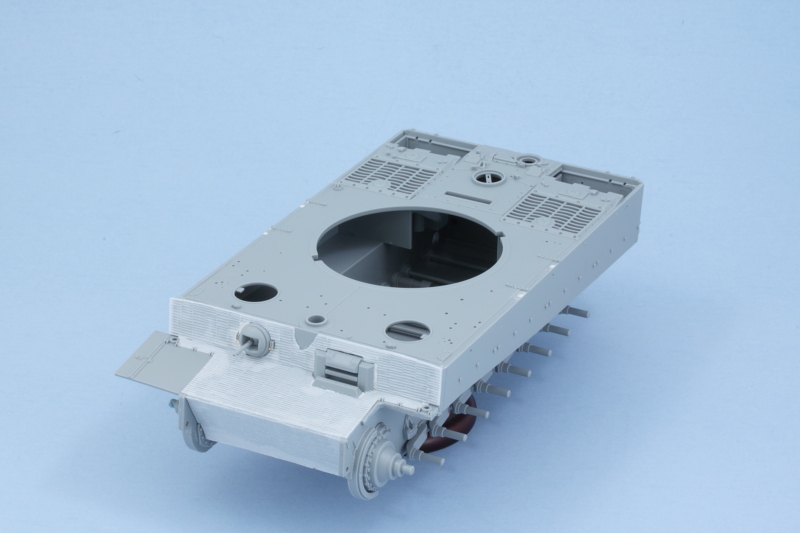
That will get a chance to set solid overnight and tomorrow I'll work on the rear hull plate and possibly also the side panels if time permits.
