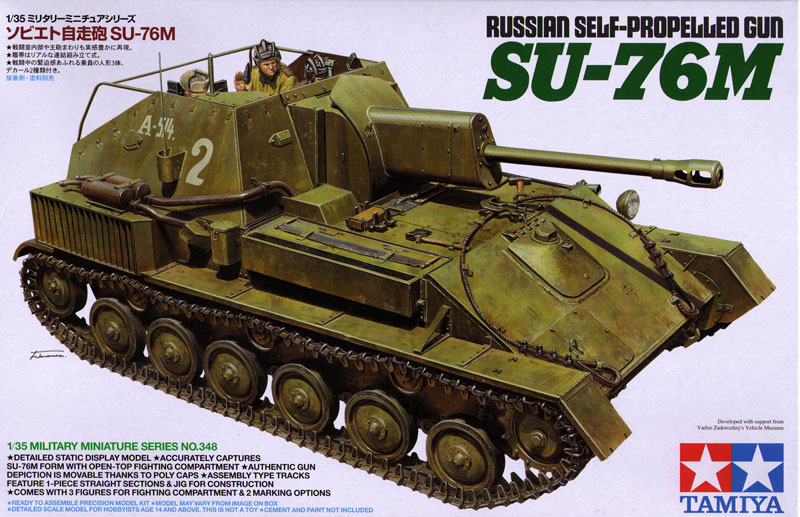
More progress to report! I went back to Step 1 and duly added in the tow hook arrangments to the nose plate so I wouldn't forget about it later on. Easily done, you just have to be sure to add the small triangular parts, A6, first and then the main hooks to avoid any issues.
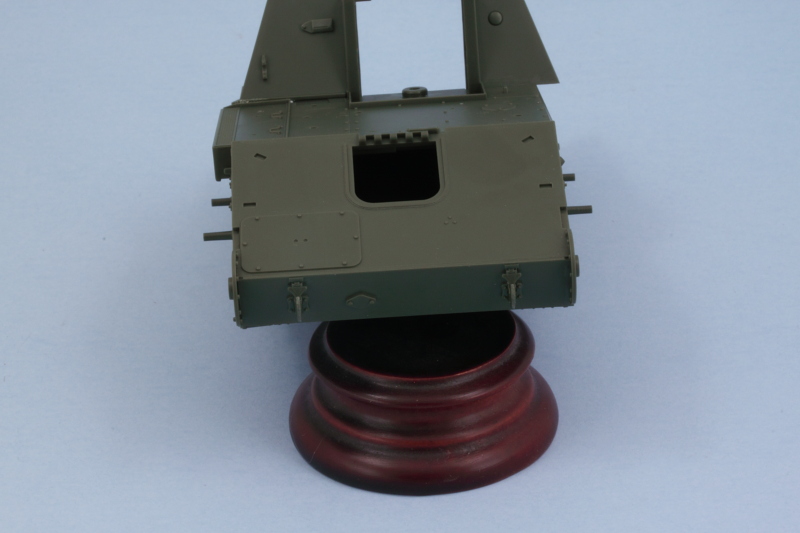
Rather than move on to the suspension as I originally planned, I instead started in on the interior modules to complete what I could there so that it would make painting and assembly easier when I get to that stage. First up, I assembled the main parts of the two right-hand side shell racks as called out in Step 4. The bases have small tabs that extend beyond the rack wall and are used to install them into the fighting compartment, so I wanted to see how easy that would be if the compartment wall itself was already installed.
The right side of the compartment is assembled in Step 5 out of two separate large pieces. I used the main hull to help ensure they were lined up properly in relation to each other and the angled front part of the compartment, then carefully applied liquid glue to the join and let it set inside the compartment before popping it out so it would behave as a single piece going forward. A quick test with the shell racks showed that the recommended order in the instructions of installing them to the compartment side first is a good one...it's a pretty tight fit, so I will deal with them separately in the painting and detailing department.
It's also worth noting here that Tamiya did something a little funny with the shell rack components. The retaining clips for each round are molded onto the rounds themselves, so there are no clips present for the empty round places in the racks. Tamiya deliberately left several round places empty in all three racks, so that leaves something for the aftermarket boys or the adventurous scratch-builders to address.

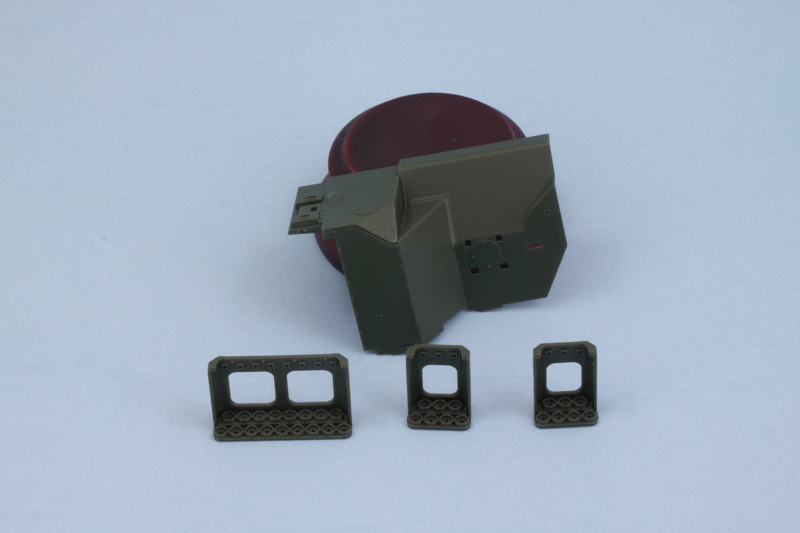
Skipping over to Step 11, I worked on the compartment rear plate. Some ejector marks that would be visible were removed and I installed the bench seat and supports so I could work with this as another interior module for painting.
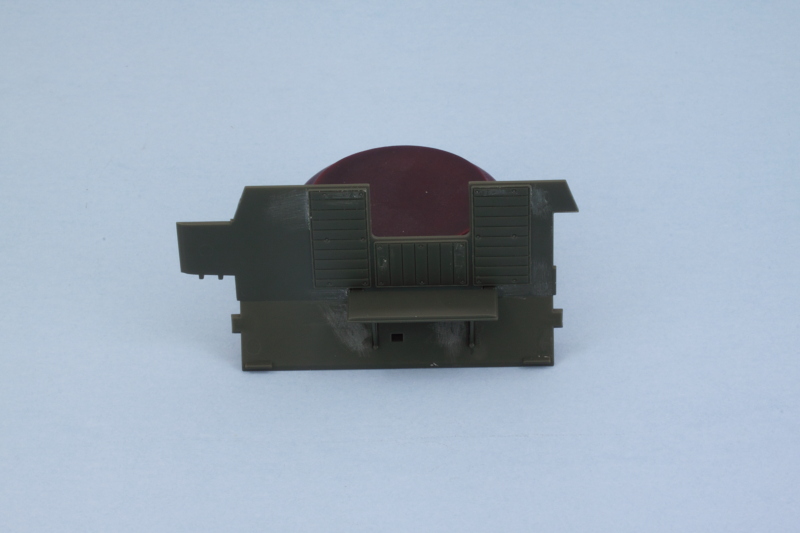
A quick mock-up with some masking tape and poster putty shows just how cramped/tight the interior is with all this stuff. I deliberately left off the little commander's jump seat on the right wall as it will be easier to detail it separately and then install it due to how closely it fits against the rear shell rack.
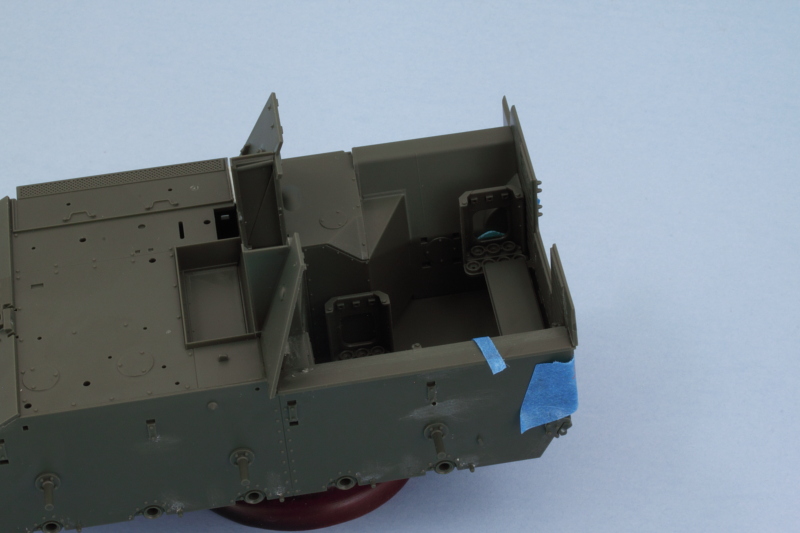
I also noticed that there was a small gap/opening on the right side between the engine deck and the angled superstructure front. As near as I could tell after consulting available reference photos of the actual vehicle, there is supposed to be a small gap here but not one that would extend all the way down into the hull itself. To address that, I added a small length of white styrene rod and applied liquid glue to soften it then shaped it with a wooden toothpick to fill in the base hull area while still leaving the superficial gap between the superstructure and the engine deck area. Not sure if that's 100% accurate, but it looks better to my eye vs. having this small crack down into the interior.

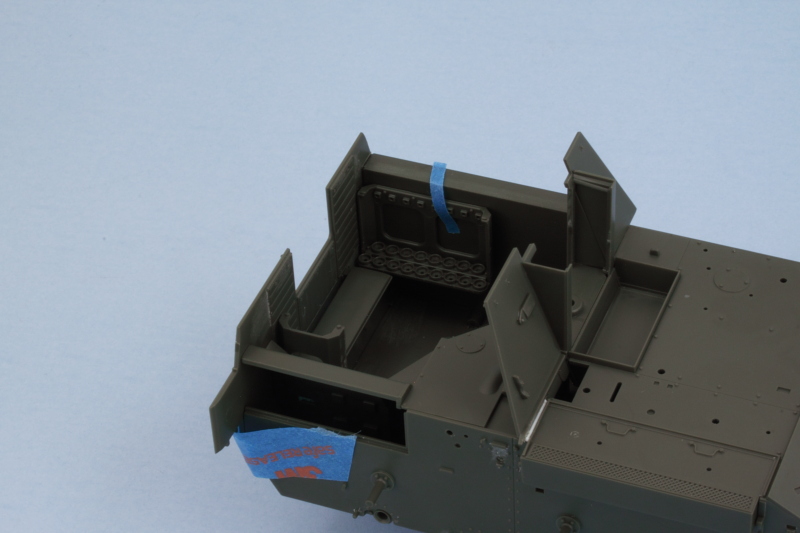
Next up will be spending some time on the fighting compartment upper sides to get them ready for paint.
