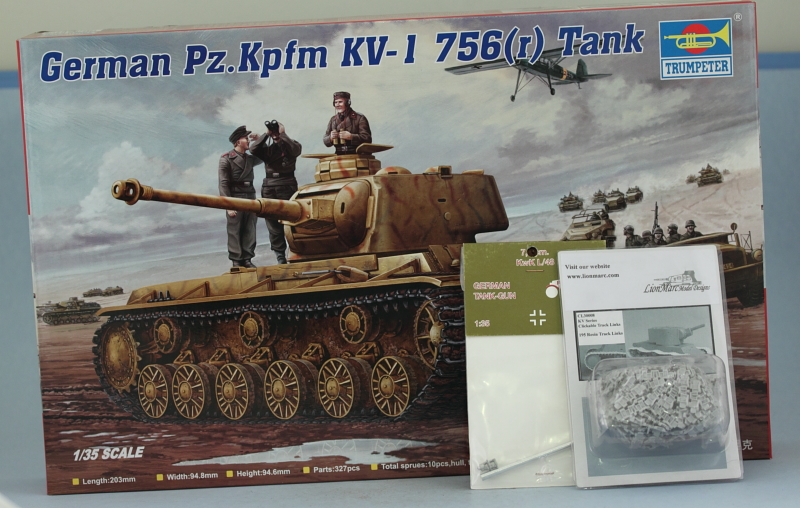
Lots of progress to report in the details department.
First up is the rear hull. The spare track links were done first, using my normal MM Metalizer Non-buffing Gunmetal base followed by a light wash of enamel Rust. A very light dry-brushing of enamel Steel was followed by some dry-brushed Burnt Umber and the links were installed into position on the fenders.
For the exhausts, they also were done with a metalizer Gunmetal base-coat but given 3 applications of the Rust wash (spaced out of course to allow the previous coats to dry thoroughly). I used some black artist pastels to darken their mouths and also put down some soot accumulation on the hull surface. This will get toned down and blended in a bit in later weathering stages.
Most challenging of all were the engine air intakes. Since these are molded as one-piece by Trumpeter and I didn't want to spend for AM PE/grills...I resorted to using optical tricks. First I applied a wash of thinned enamel Gunmetal with a small detail brush and let it dry. A 2nd wash application followed where needed to darken the "squares" in the mesh. Using the same small detail brush, I very carefully dry-brushed the hull color where the camo stripes hadn't intersected to bring the mesh back out and create a 3-d result.
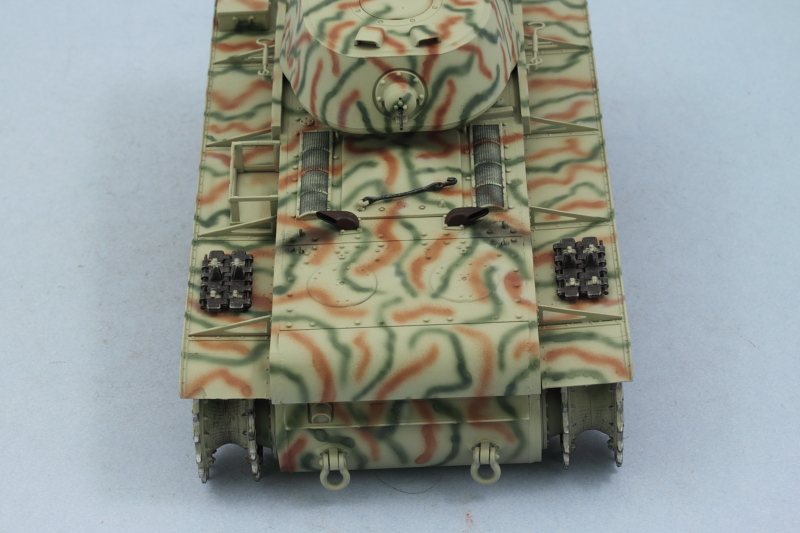
The lower hull was "pre-weathered" at this point using a round 0 sable brush and stippling some Burnt Umber to simulate scuffs/scrapes/wear. I suppose for 100% accuracy sake I could have done this with Russian Armor Green instead but the Burnt Umber just looks better in my opinion.
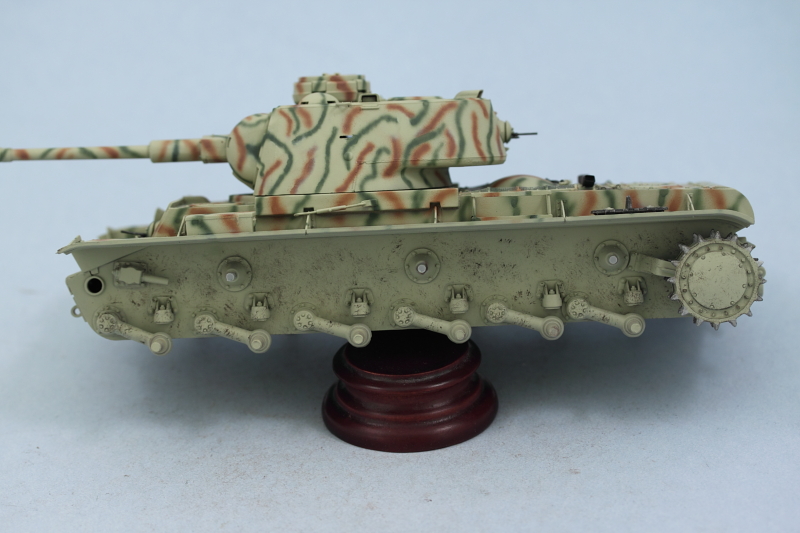
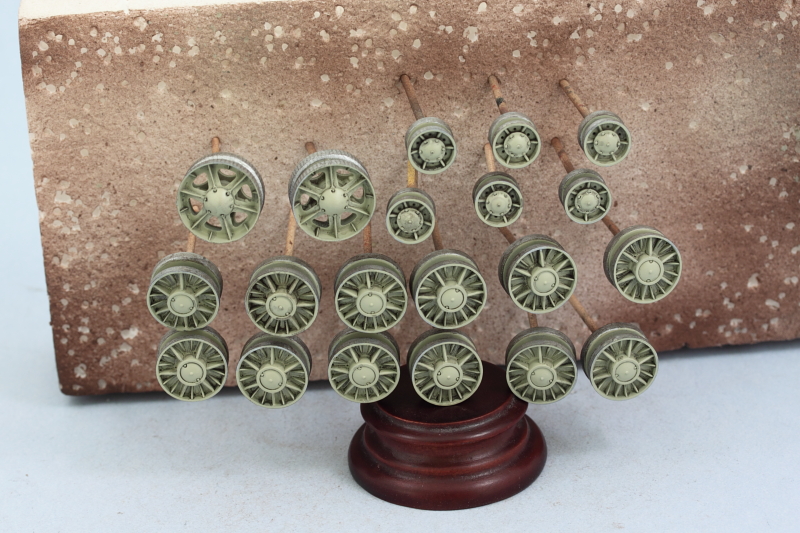
The road wheels, idlers, and return rollers also got some attention. I applied a Burnt Umber wash to the ribbed details on all the wheels and let it dry. By doing this now while they are still on the toothpicks, I got a more even finish than if I had done it when the wheels were installed. I also detailed all the bare metal surfaces using MM Non-buffing Metalizer Steel and then dry-brushing Burnt Umber over the metalizer coat.
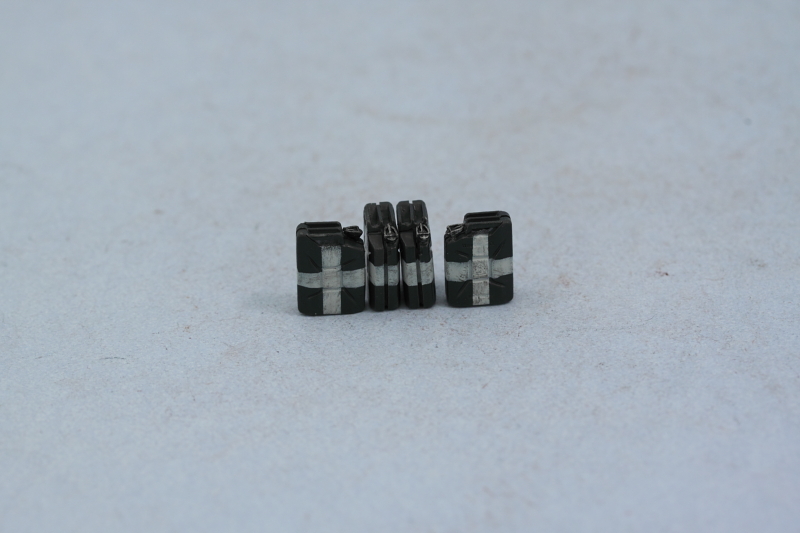
The 4 water cans for the left side were also detailed. I airbrushed a coat of Panzer Schwarzgrau and then used strips of masking tape for the water cross markings. Rather than use White (too stark), I used Light Gray instead and lightly dry-brushed some of the Panzer Schwarzgau to give it a slightly used look. The cans were then installed in their rack on the fender.
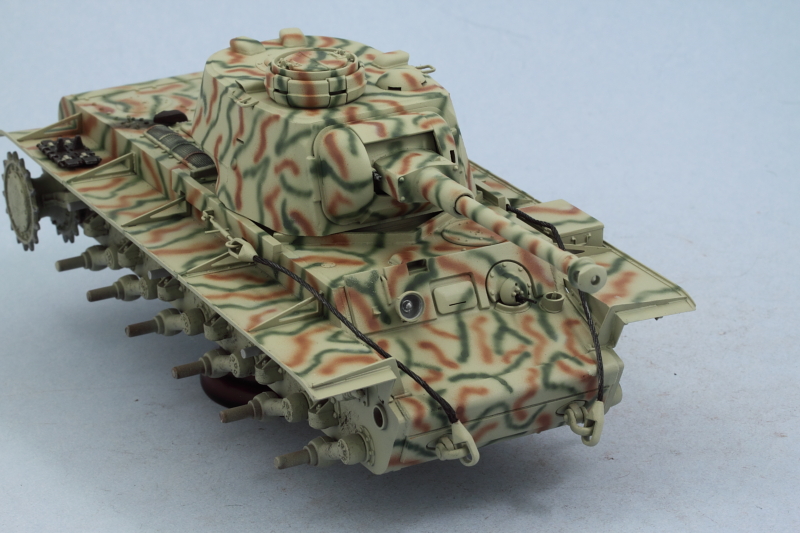
The front hull details were also taken care of. The kit supplies some very nice braided copper wire for the tow cables but you have to be careful as there's very little extra and the length of copper wire needed is 71mm per cable. I used CA gel to glue on the tow ends and then airbrushed the hull color and painted the cable portions with Metalizer Gunmetal and lightly dry-brushed with Steel. The cables aren't permanently secured to allow a little flexibility in the weathering process to work around them.
The headlight was detailed with Testors enamel Silver and the hull and turret MGs detailed as well to round things out.
Next up will be the decals and prep for the weathering to begin.
