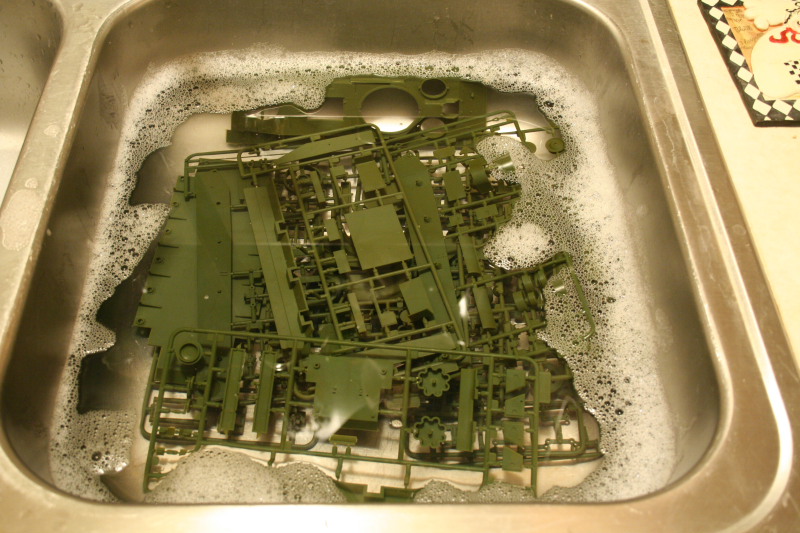
As promised, construction work began on this beast today. I was pleasantly surprised to see just how much of an interior, particularly in relation to the engine bay, that the kit has included.
Step 1 deals with the engine assembly and has an entire sprue dedicated for this purpose. The assembly is pretty straightforward although there aren't any locating pins/holes on any of the parts, so it's necessary to have a good tight fit before glueing. The instructions are a little bit vague, showing the engine partially assembled with some parts called out for on the assembled side with arrows while the other side shows it disassembled in an exploded diagram. Everything generally fit well, although some minor sanding/trimming was necessary on the mount supports to get them to fit properly up against the engine block, it was easily taken care of with a squre tip needle file after some fiddling. The engine is fairly well detailed given the age of the kit (sprue molded copyright says 1997), and the assembly for this step consists of 18 separate parts, providing a nice representation if you decide to leave the engine deck hatches open later in the build. I'm not intending to do that, but went ahead and built it up since it will be useful in helping with the floor plate alignment later on.

Step 2 deals with the driver's compartment and this area is far more basic in detail vs. the engine. The floor plate has a suggestion of a diamond pattern that's not very well executed and the compartment consists mainly of a driver's chair, the two stools for the MG turret crew, a gearshift, and two traverse handles and that's about it. Strangely enough, the arm rests of the chair do have very nice hinge/bolt detail but it's lost to view once installed.

Step 3 continues work on the engine interior, dealing with the assembly of the transmission housing. The housing is two parts, again without any locator pins, and the alignment needs to be just right along all sides. The installation of the housing on the front end is a little tricky, the wheel portion has a very shallow connection point to the housing and the part that goes on the end of it, D9, needs to be aligned up properly with the piston arm like part D12 on the top for it all to fit well. I ended up trimming the pin on D12 down considerably to get it all to fit right, but it worked out in the end.

Step 4 is where some of the fun begins, it deals with the construction of the two MG turrets and first directs you to install the MGs along with their ball mounts into the turret front plates. The assembly includes a ring, part C11, that is designed to trap the ball mount and leave it positionable, but it doesn't quite work as the ring is too small to fit over the ball and sit flush with the turret plate, so I just glued the ball mount into a fixed position with some liquid glue and did away with the ring entirely. I also drilled out, very carefully since there's not a whole lot of surface to work with, the muzzles of the MGs with a #80 microdrill. The guns themselves are rudimentary in detail but provide something there if you decide to open the turret hatches. The guns themselves are extremely fragile and easy to break, I had one snap off cleanly right at the join plate into the ball mount and had to be creative with the glue to get it back in one piece.


Once that was drying, I worked on the turret construction. The turrets are each 2 halves that have very large sprue attachment points in awkward positions that require some very careful cleanup, particularly the point that attaches where the front plate needs to join. There are also very large ejector pin marks on the inner surfaces of each half, so if you do display it open, those will have to be dealt with. No locator pins or holes are provided, but the fit was very good front to back on both turrets, I used regular glue for the joins and then followed it up with some liquid glue to make sure the seal was nice and tight.
Once that was set up, I installed the roof and front plates. These also had a very good fit but even with the use of liquid glue a slight lip/gap still resulted at the join lines that needed to be dealt with. Checking the references on T-35 turrets (same turret as the T-28 ), shows that these turrets were all smooth cast single-piece so I sanded down the lip as much as possible and followed it up with some putty to fill in the remaining gap and still retain the curvature of the turret.

Both turrets were given the same treatment and their hatches and lifting eyes installed. The hatches have some nice exterior detail but are totally blank on the inside and also have a sink mark to boot, so I elected to close up both turrets and leave it at that.

Overall I've been pleasantly surprised so far with this kit, there's been very little flash and the mold lines, when present, have been small and easy to deal with. Too early to tell if this carries over across the rest of the kit, but so far, so good.


