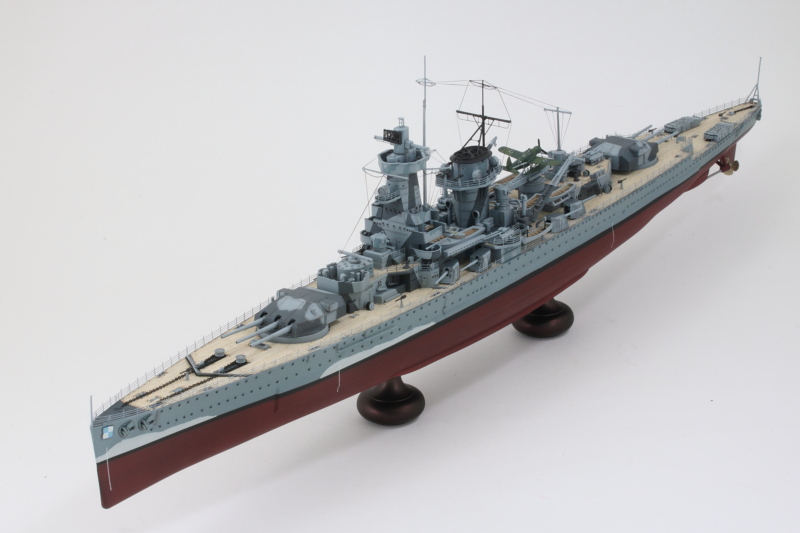
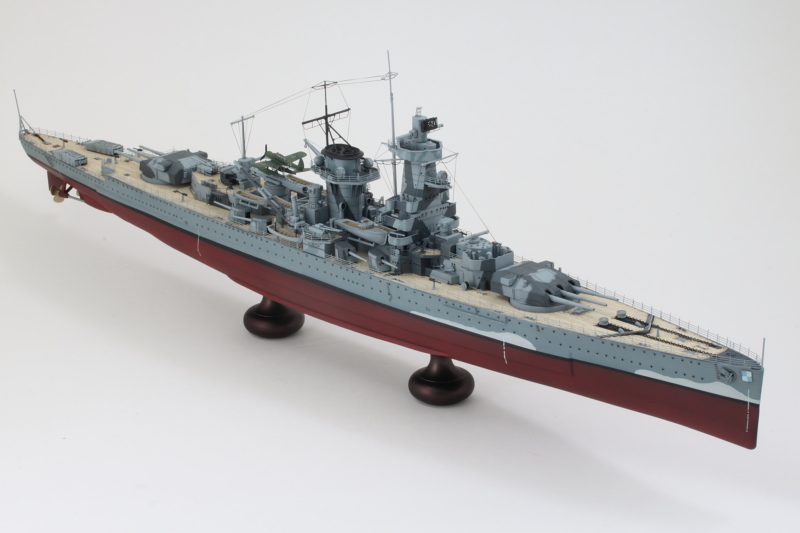
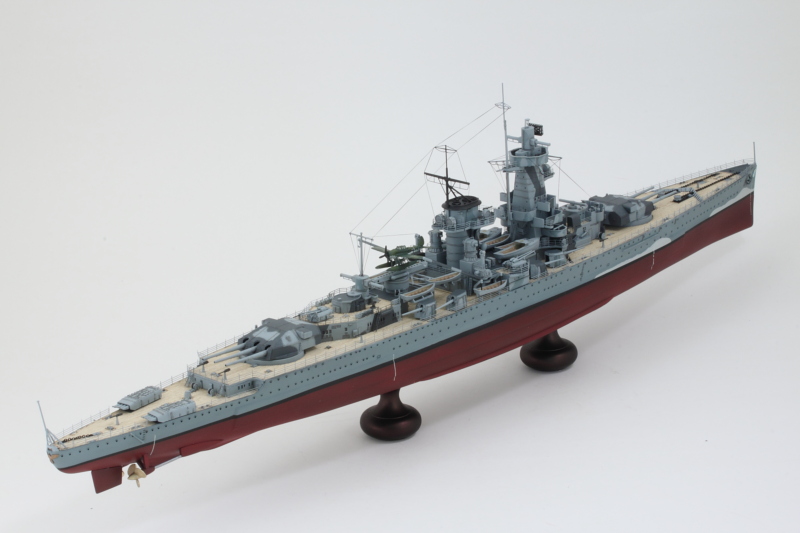
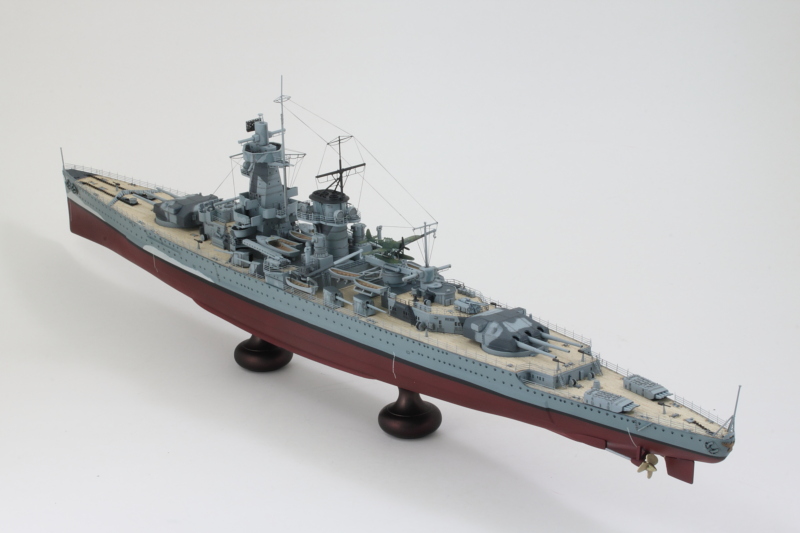
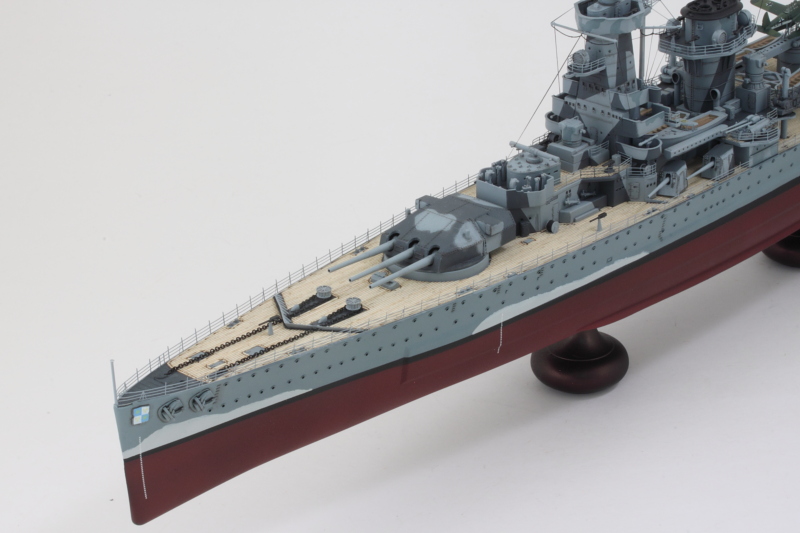
Final lap for the Graf Spee today so this update is substantial! It was finally time to tackle the main deck railings and the Eduard set is superior to the railings that Trumpeter provides in that they are designed to fit specific areas vs just being generic runs that are all the same. The Eduard railings do require some splicing together to make the long forward runs as well as towards the stern to meet up with the curved end deck section above the torpedo deck at the stern. Even with that minor consideration, they were easy to work with in general. I painted up each of the runs separately and then installed them with CA in strategic spots, using the pointed edge of a #11 in some spots to slide in the glue so that they could be gently curved where needed.
At the bow, the kit didn't provide a jack staff. The Eduard set includes a PE item for this but is, as you would expect, not 3D, so I used it as a template to create a suitable staff out of styrene rod. I used a heated knife tip to flatten one end of the rod then cut it to the required height.
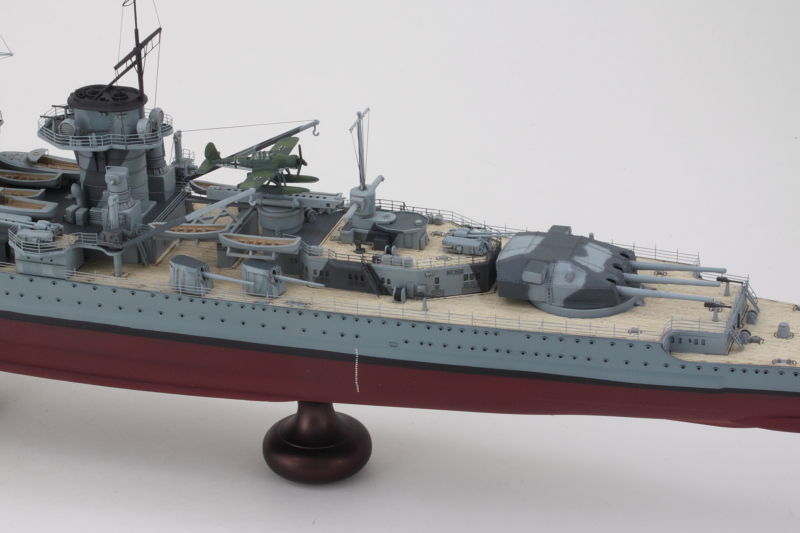
The midships section received its railings along with a pair of small guns once the railings were in place. I'm glad I built in some elevation in the aft 11-inch turret as the barrels were just the right height to clear those installed guns. The cranes were also permanently fixed in position at this stage since I no longer needed to be able to move them around to install stuff.
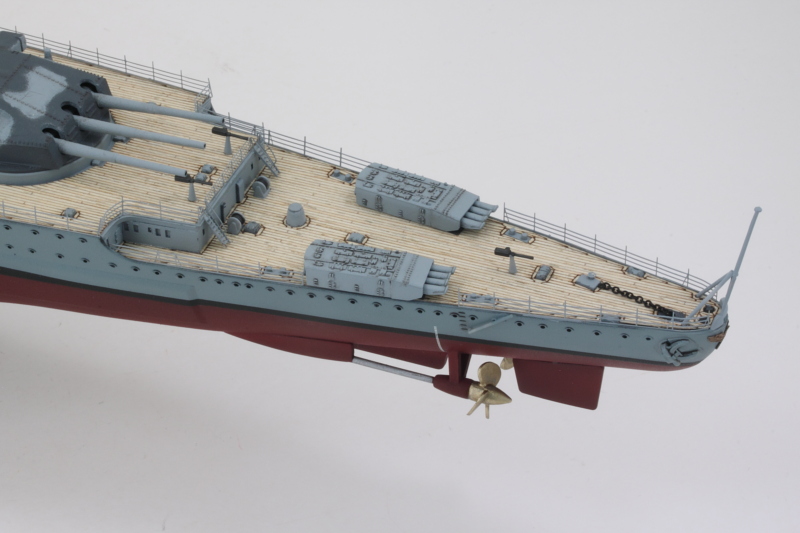
Rounding things out at the stern, I added the torpedo tubes but kept them as a friction fit so I could make small adjustments as needed to allow the railing sections to align properly. The tolerances here are very small, so it was a good thing I did that as both tube mounts needed slightly different amounts of adjustments to line up with the railings. I detailed the propeller shafts with MM Nonbuffing Metalizer Steel and the propellers themselves with Nonbuffing Metalizer Brass and installed the propellers along with the rudder.
Returning back to the midships section, I had the final tricky task of installing the last two lifeboats and their suspension davits. The kit provides two options, one for the stowed position and one for an extended as if the boats were being launched. I opted for the stowed position davit arms and what made the installation tricky was the delicate attachment points involved along with the very tight space with the railing already in place. I ended up trimming off the first 4 raised post heads on the railing section so that the boat could sit level and allow the davits to install cleanly.
Last, but not least, I used the EZ Line and CA combination to run the last pair of rigging lines now that the snag risk had been dealt with.
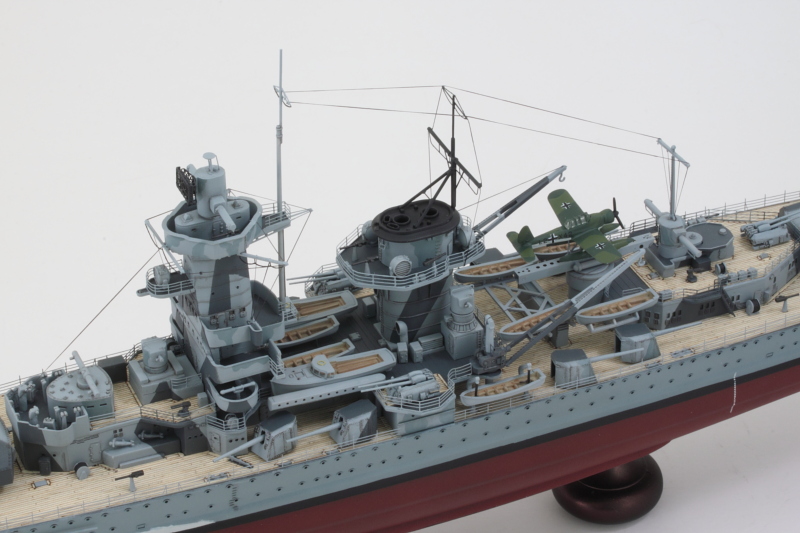
I did an inspection round from stem to stern checking for spots that needed touch-up or showed some gloss/reflection from the CA glue. These were painted if needed and then dulled using Testors Dullcote Lacquer in the bottle and a pointed spotter brush.
With that done, I think this one's ready to cruise the high seas looking for easy prey!
