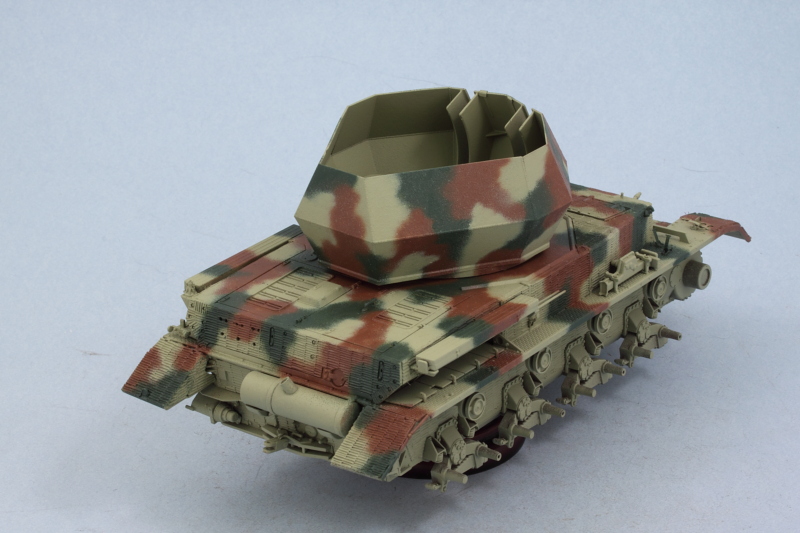
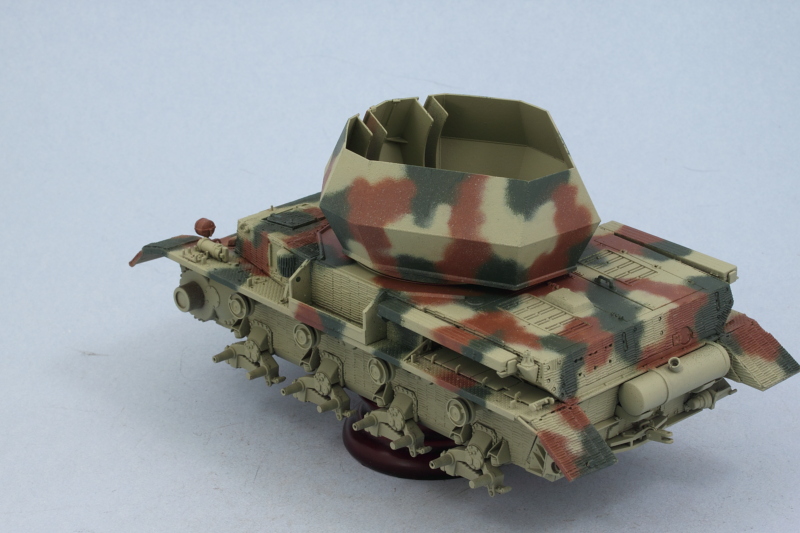
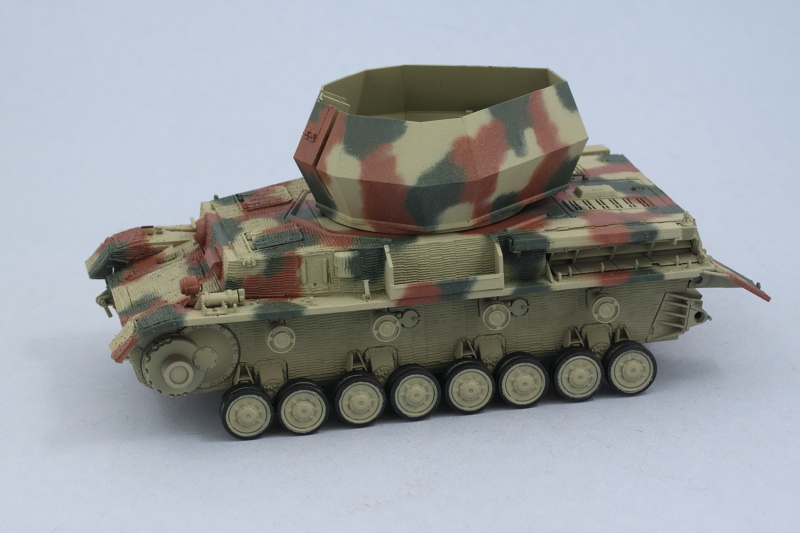
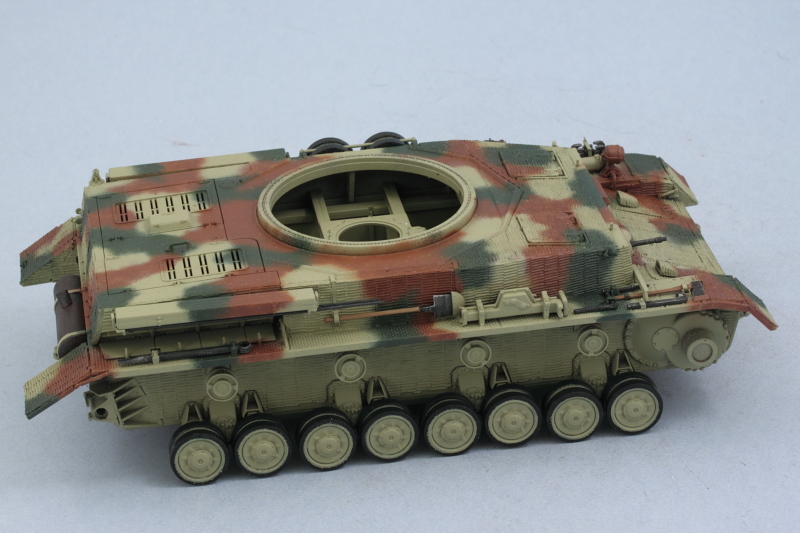
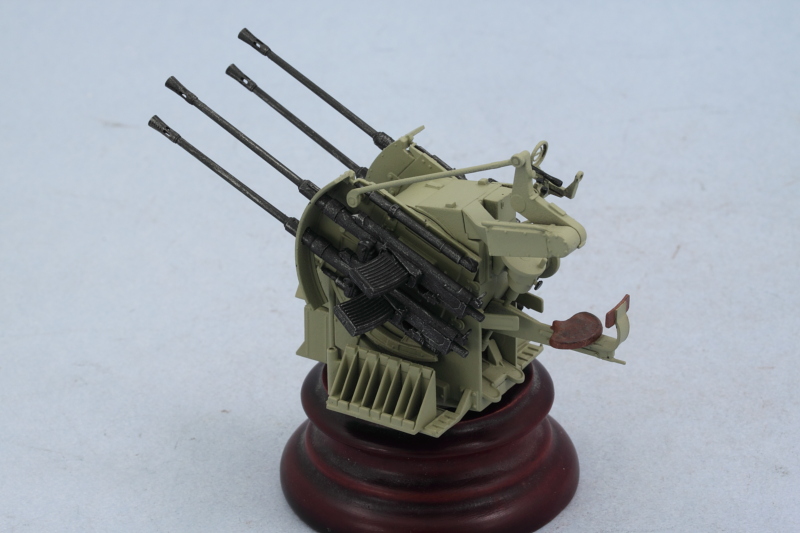
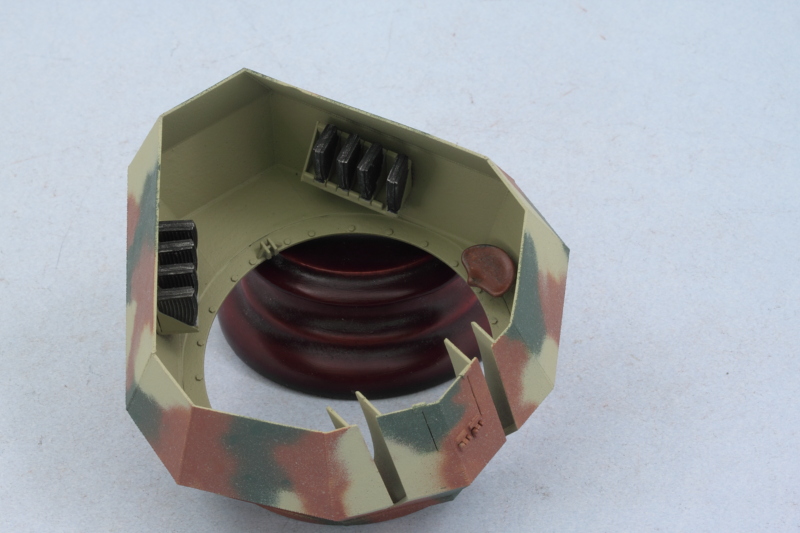
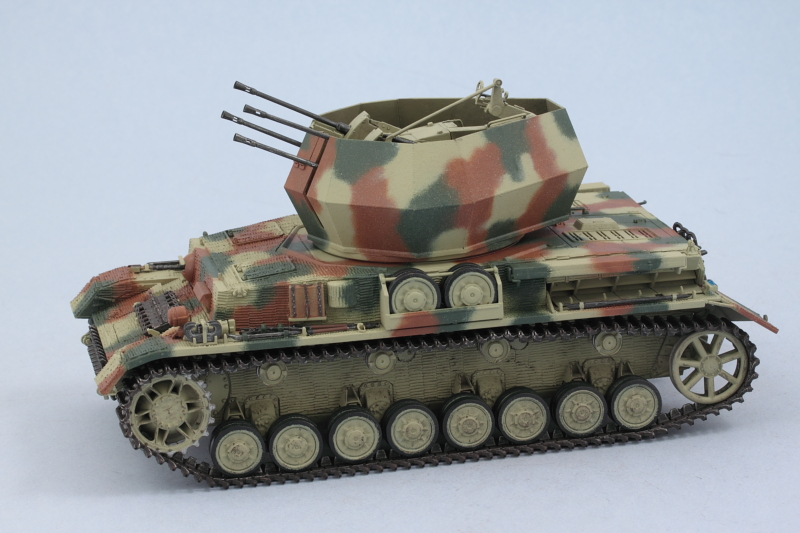
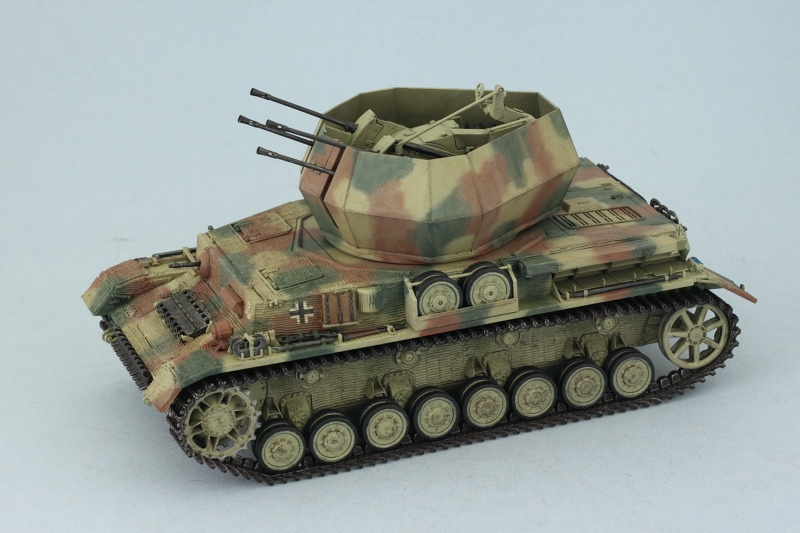
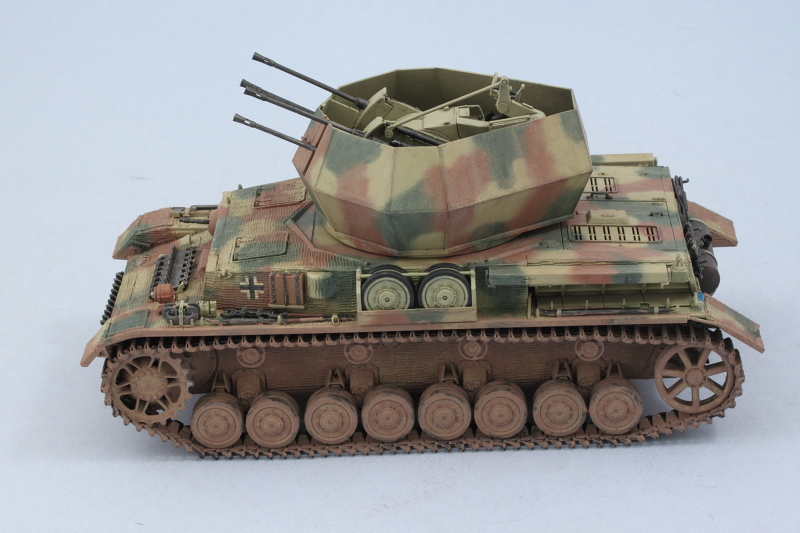
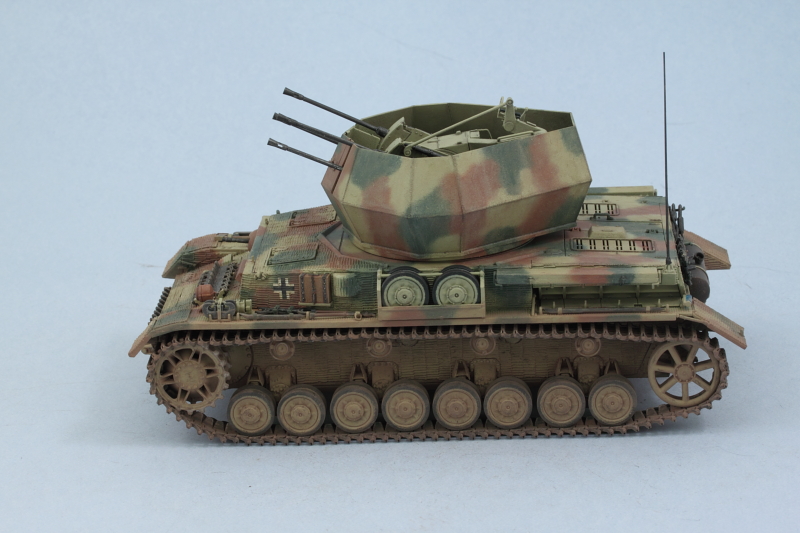
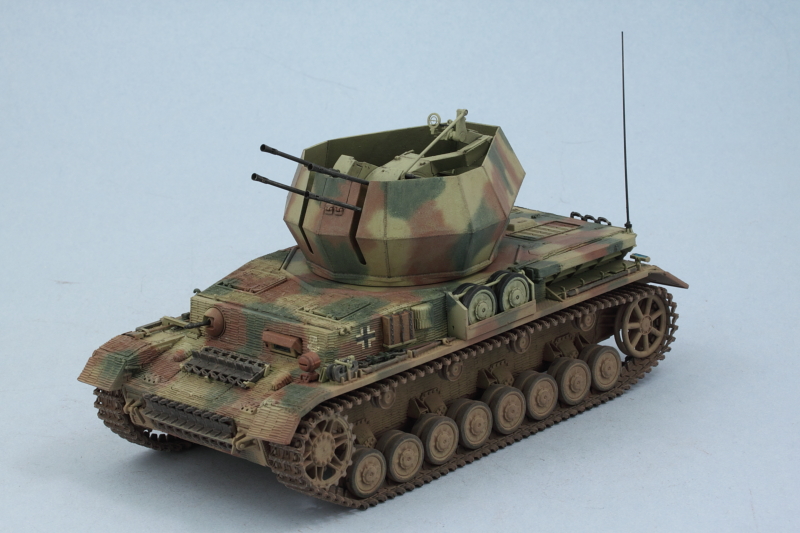
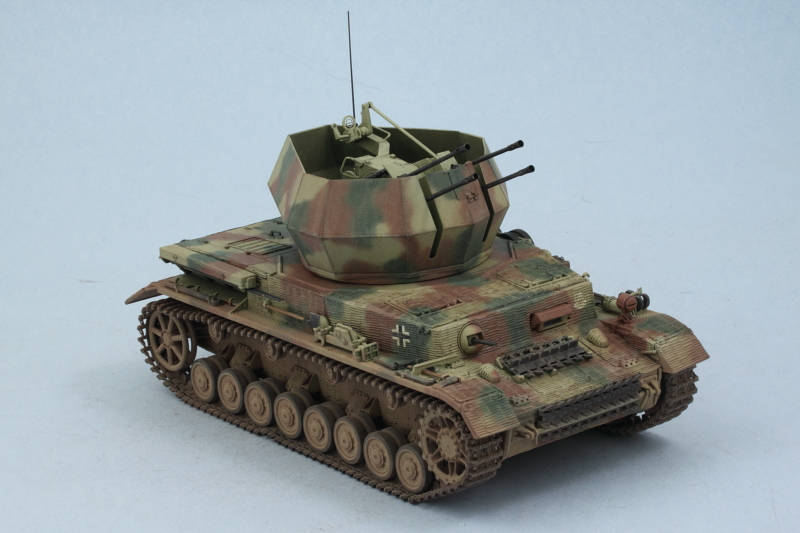
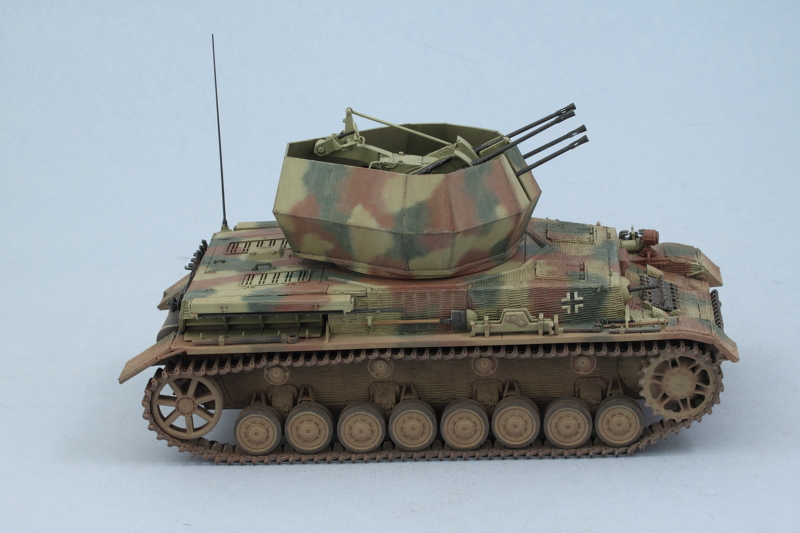
Had a couple of days off work so got some more done in the details department. Although it doesn't show too well in the photo, I weathered the interior of the turret and the Flakvierling with an overall wash of thinned enamel Burnt Umber and then dry-brushed my lightened Dunkelgelb mix over that to create some dirt accumulation and some variety. The Flakvierling was then installed into the turret and I discovered why the PE spent shell catcher bin is added after this in the instruction order...it's because there isn't enough clearance between the edge of the gun and the turret ring, so I ended up having to remove it in order for the gun to install properly. It's not visible anyhow so I just left it off completely since I'm going to display the turret in position.

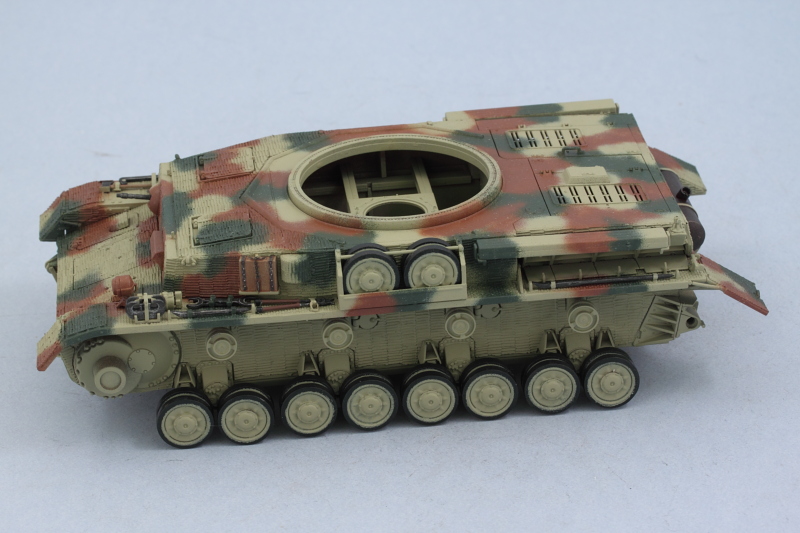
I also detailed and installed the spare track runs for the hull nose and glacis. The tracks were base coated with MM Nonbuffing Metalizer Gunmetal, given a wash of enamel Rust, then lightly dry-brushed with enamel Steel to create a bit of metallic finish. This was toned down and blended in with some Burnt Umber artist pastels. I also used a #76 finger drill to create the open pin holes on the first and last links of the hull nose run for some added detail.

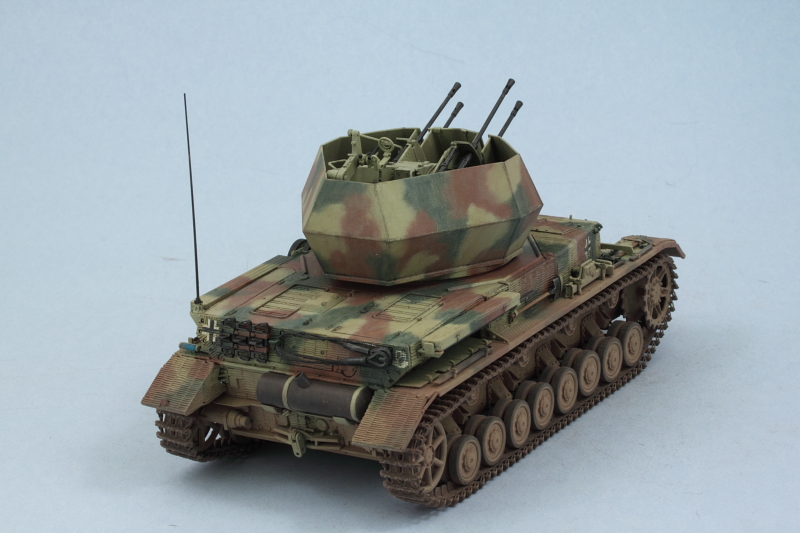
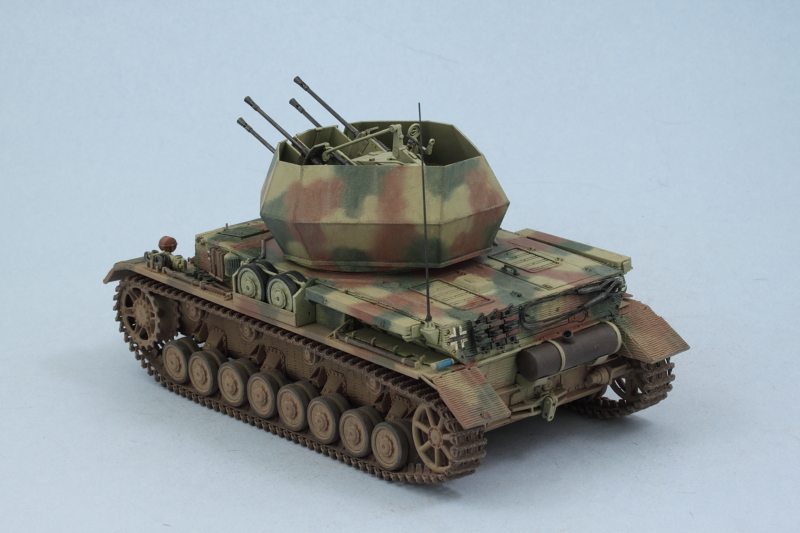
The rear hull also got some detail attention. The three spare track links were finished and installed using CA gel so they would stay put on the resin zim surface. The rear blackout light was painted with Tamiya Clear Blue and the fender reflector with some Testors enamel Flat Red. The muffler was painted in the same fashion as the spare track link runs minus the Steel dry-brushing with just a touch of black artist pastels applied to the exhaust spout.
Instead of the kit-supplied braided steel wire (which is too stiff to easily work with), I used some crochet rope to create the tow cable. The rope was dipped in Future so it would stiffen up and also not go "fuzzy" when painted and left to air-dry. Then I cut it to the necessary length of 125mm (the instructions say 150mm but that includes the styrene eye ends) and glued it to the cable ends with CA gel. It will get painted and installed later after the weathering is done and is only dry-fit for now to insure I got the length/configuration correct.

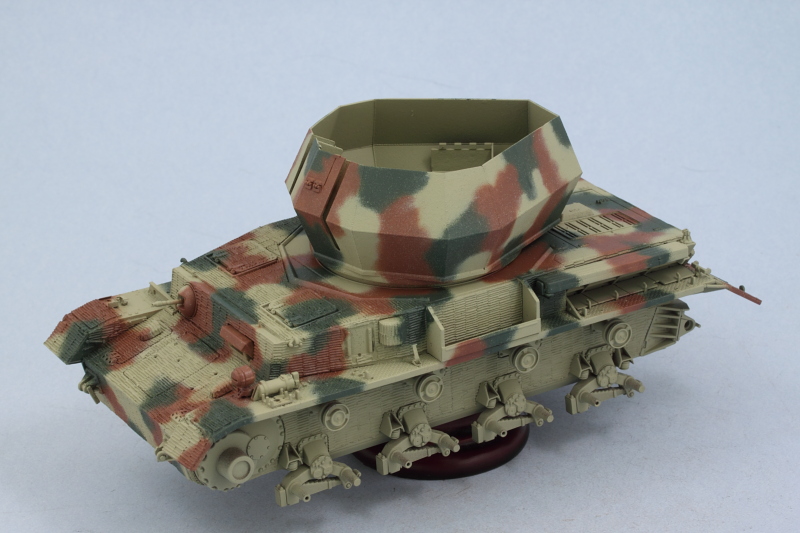
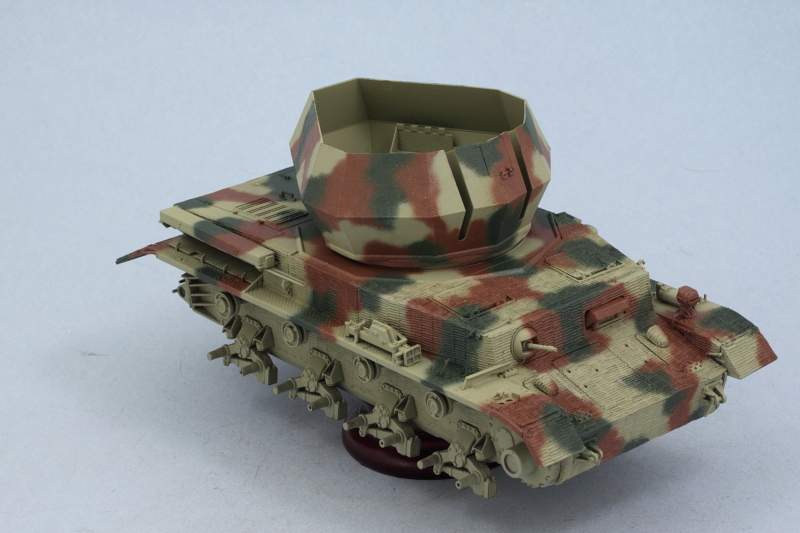
That's where she stands for now, still need to give some attention to the lower hull/running gear and tracks as the next phase.
